


MiniSun & 2'X4'
MiniSun & 3'X3'
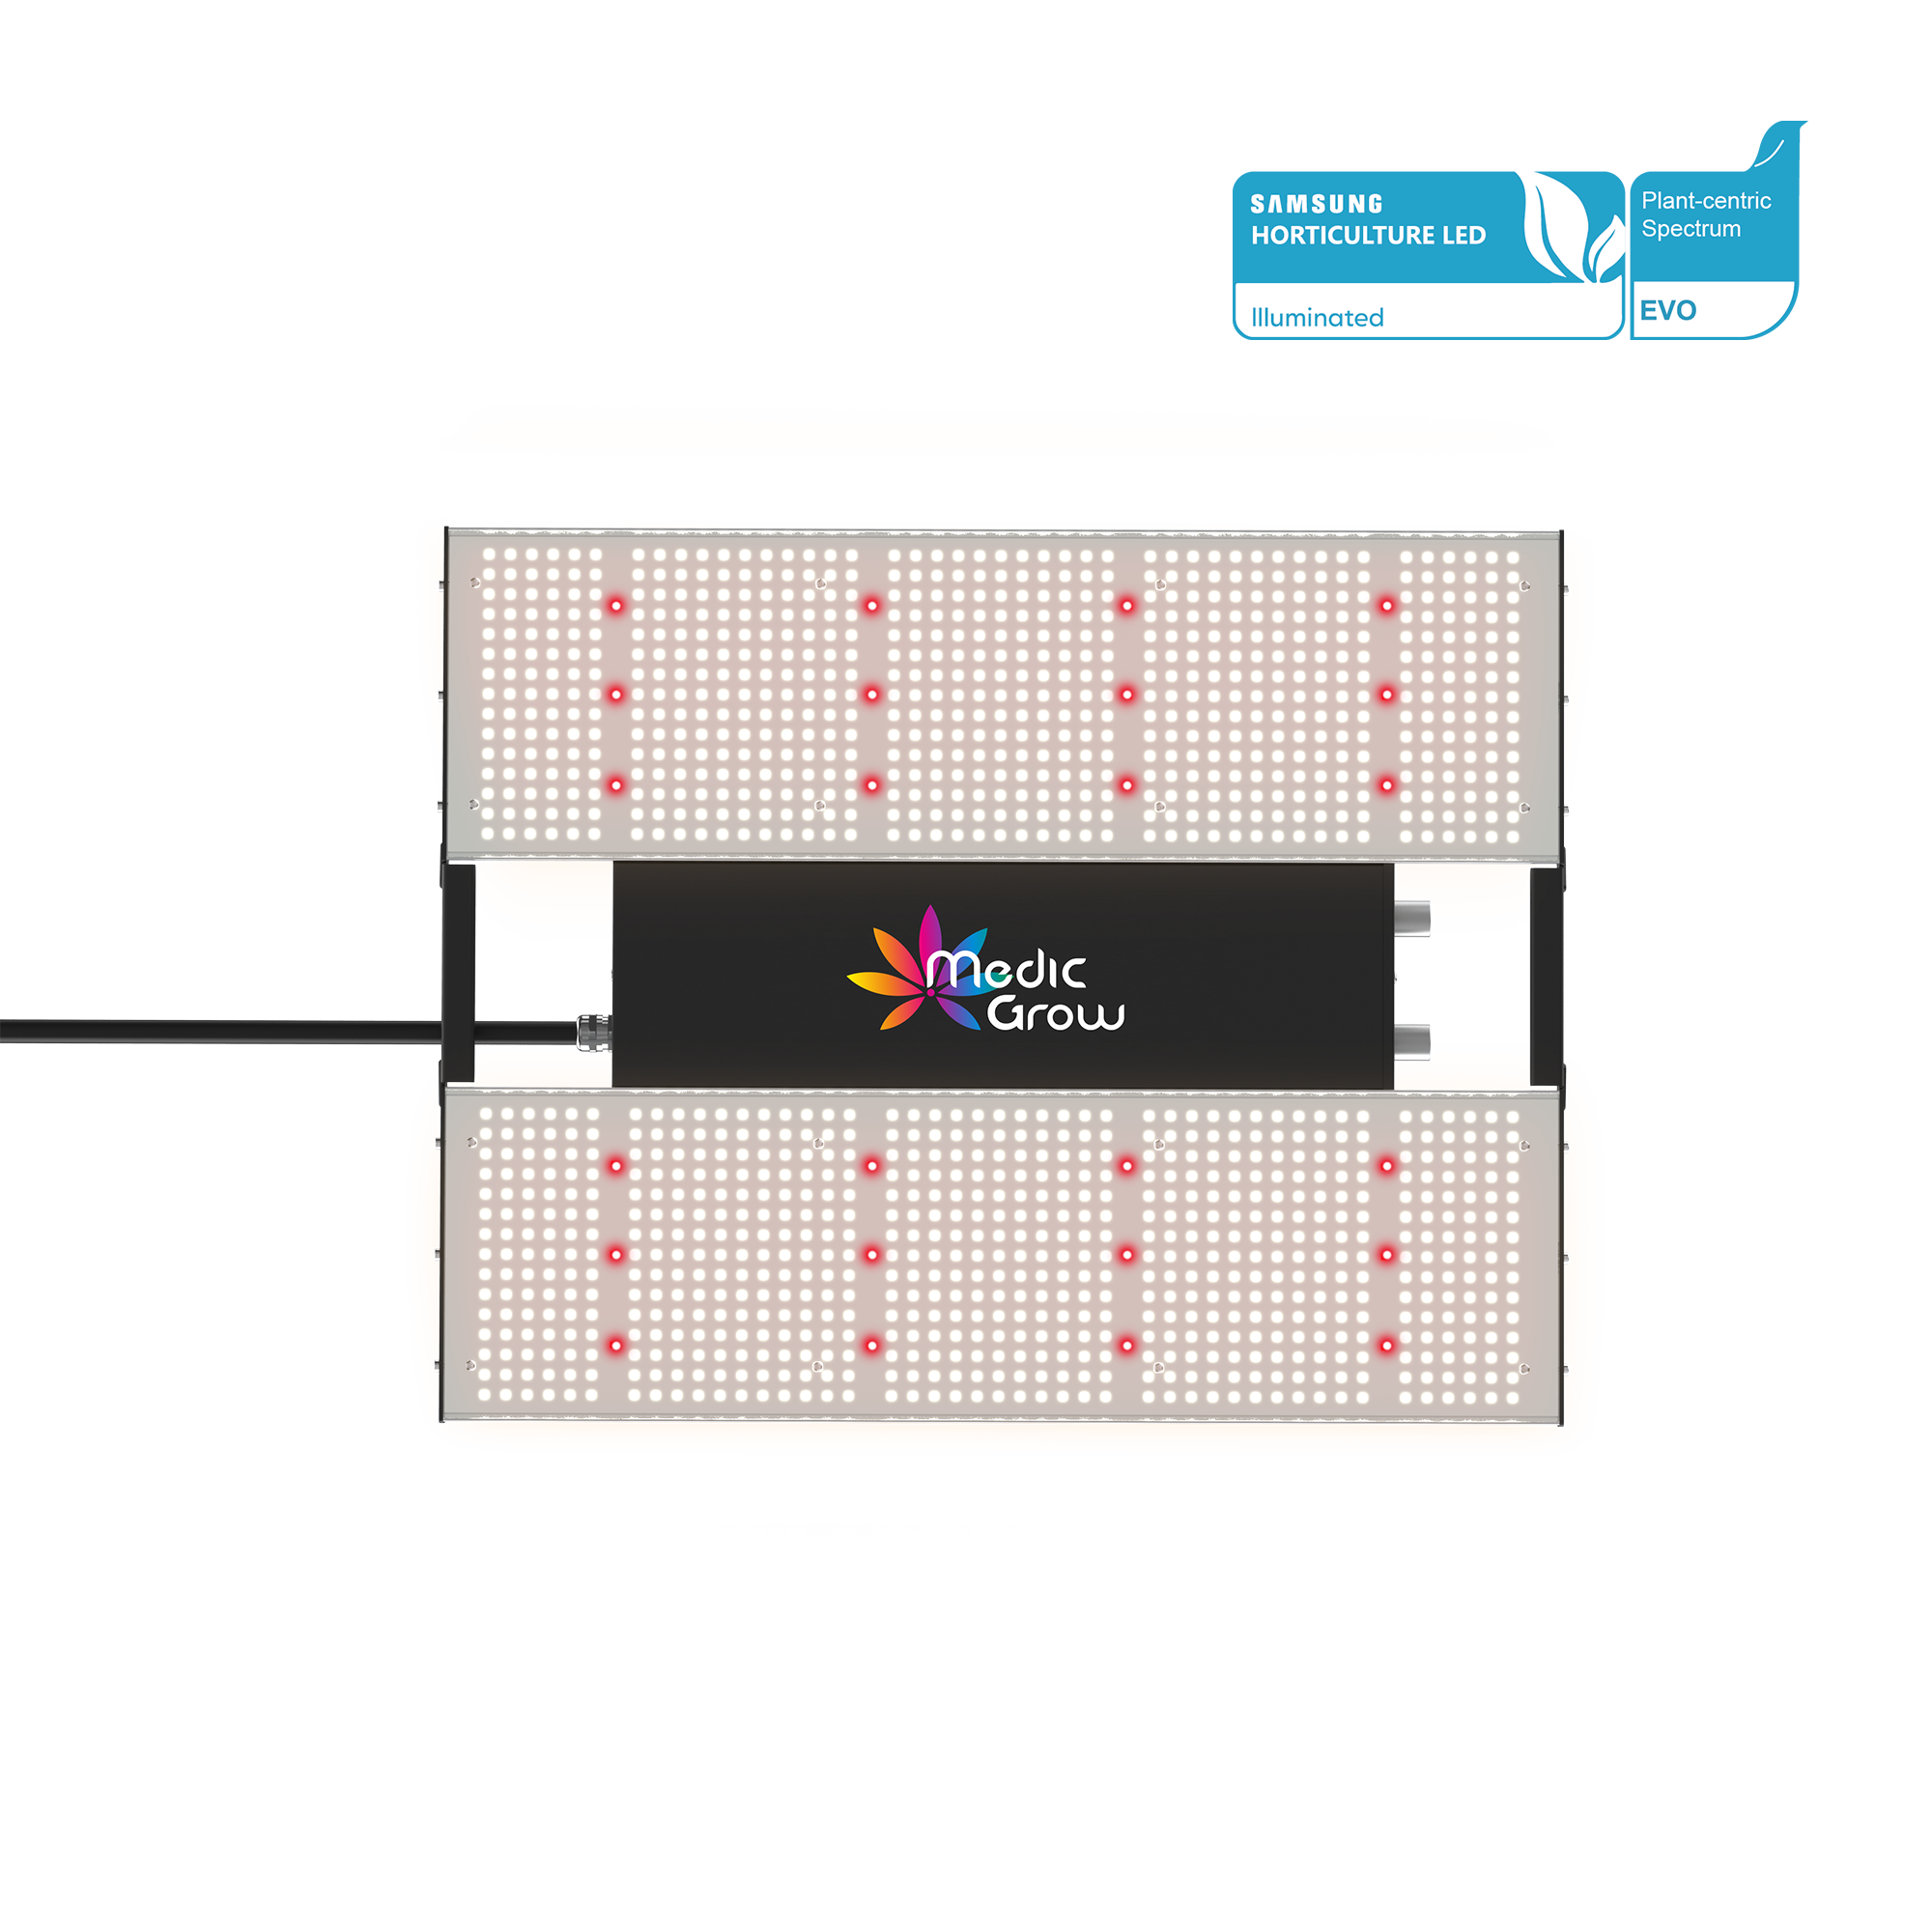
Venus 200W & 2'X4'
Venus 200W & 3'X3'
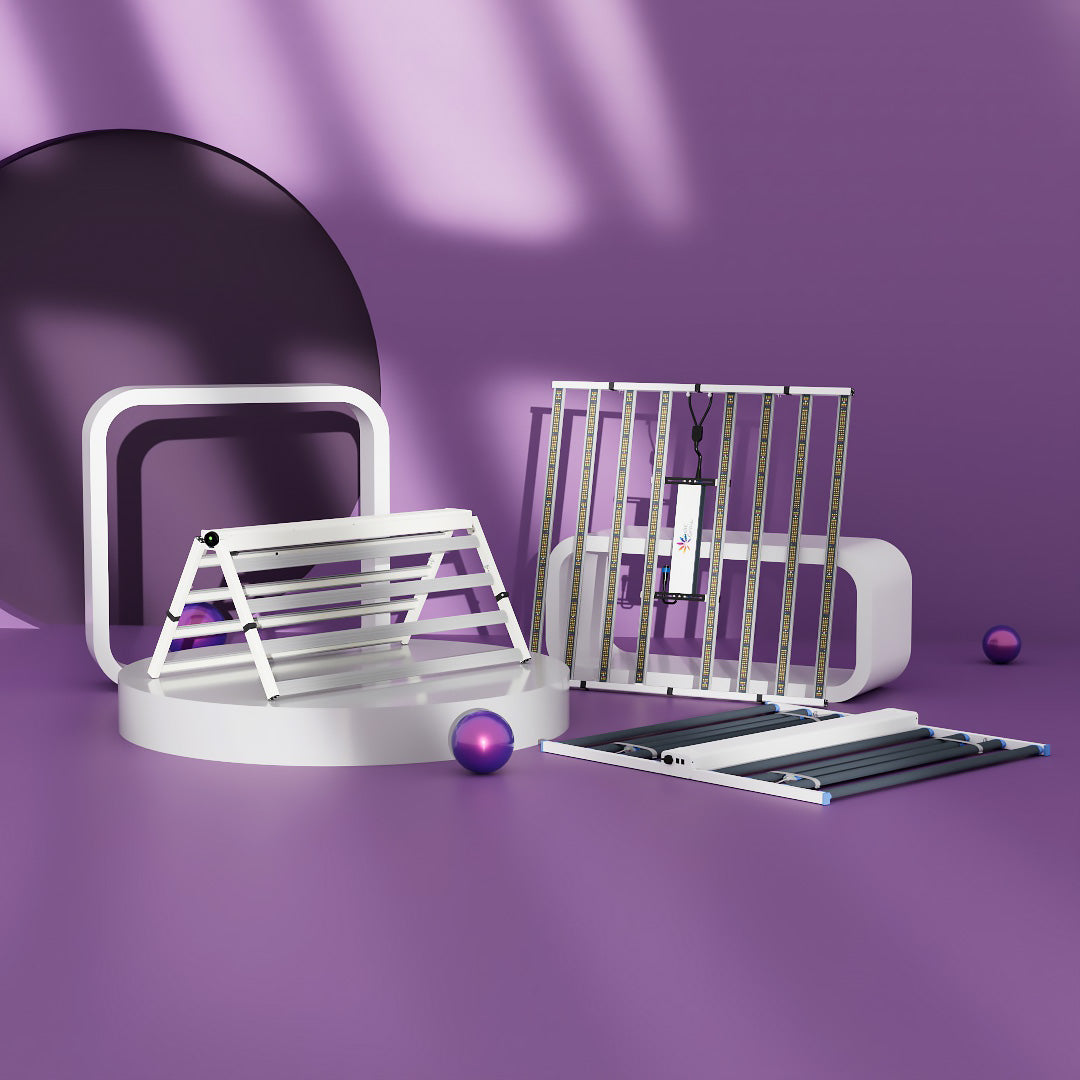
Fold-650 & 4'X4'
Fold-650 & 5'X5'
How to Hang Grow Lights: Step by Step Guide
Do you know the best way to hang grow lights? Do you want to have beautiful plants and vegetables but don't know where to get started?
Well then, keep reading! There is nothing more uplifting than the fruitful experience of watching your indoor plant turn into soft, bright colors under the LED grow light.
To have well-grown, good-quality plants and an excellent yield, you need an efficient indoor lighting system, or, in simple words: a hanging plant light.
Hanging full-spectrum grow lights can be tricky, especially if you are a novice.
Numerous factors contribute to plant growth, and light is one of them. Beginners usually don't know how much light their plants need or how intense the light should be.
Whether you are growing plants indoors or starting your own growing business, knowing the best way to hang a grow light is important.
Although there are various techniques, and each grower may come up with their tips and tricks once they're used to hanging them, it is still crucial to ensure that you are hanging them the right way.
In this step-by-step guide, you will learn about hanging grow lights for indoor plants and have a better understanding of where to place them and the materials you need to hang them.
- Part 1: Where Should Grow Lights Be Placed?
- Part 2: How Far Should LED Grow Lights Be From Plants?
- Part 3: What To Use To Hang Grow Lights?
- Part 4: How to Hang Your Grow Lights: Detailed Steps Explained
- Part 5: When Should You Adjust The Grow Light’s Distance From Plants?
- Part 6: Final Tips For Growers
Where Should Grow Lights Be Placed?
Placing the grow lights incorrectly can damage your plants or lead to poor-quality yield.
To find the proper placement, you need to keep several factors in mind. These include the size of your growing area, the kind of plants you have, the height of these plants, the phase of growth they are in, and so much more.

There is no one-size-fits-all solution when it comes to placement. Firstly, you need to consider the size of the grow room and install the lights so that a majority of the area is covered.
The most important thing to ensure here is that most of the light - if not all of it - falls on your crop canopy. Any light that falls outside of the plant canopy gets wasted.
The next step is to understand environmental conditions and challenges that you might face. Ascertain where the 'hot spot' is.
As the name suggests, this is the spot that falls directly under the grow light. It is where the light is most intense. This spot may end up damaging your plants if not inspected regularly.
If the crop canopies are small and the lighting hangs low too, the light may not be uniform throughout the plant canopy.
Similarly, the opposite happens when the ceilings are too high and the edges are poorly lit. This results in the 'Edge Effect'.
Now that you know more about proper lighting, let's dig deeper and understand how positioning of LED grow lights can make a difference in your setup.
How Far Should LED Grow Lights Be From Plants?
Depending on the stage of growth, plants may require light of varying intensities.
Typically, there are three growth stages in a plant. Seed Germination, Vegetative, and Flowering/Fruit.
 The lights may need to be placed further away during the germination stage and can be moved closer as the plant reaches the flowering stage.
You can also try to adjust the height and bring it closer or farther away to see how plants react to it. If you see wilted, brown, or yellow leaves, the light may be too close to the plant, so you need to move it further away.
Of course, it may take a while and lots of trial and error to find the perfect spot for your plants.
Grow lights should be placed further away from the canopy during the seedling stage, and as plants enter the vegetative stage, the lights need to be moved closer.
During the flowering stage, grow lights could be brought closer to the plants. After the vegetative stage, plants focus all of their energy on blooming. Having the light closer to the plant canopy during this stage can increase photosynthesis.
However, you need to be extra cautious during this period because if the light is too intense, your plants may not be able to bear it. Low-powered lights may be insufficient for plants in the flowering stage.
But what materials should you use to hang grow lights? Let's find out in the next step.
What To Use To Hang Grow Lights?
One can use a grow light hanging kit to hang their grow lights.
Typically, most grow lights come with a set of grow light hanging cables, a hook, a sturdy stainless steel wire, or hanging strings.
Apart from these, you may use rope ratchet/s, chains, eye bolts, or screws, depending on the kind of setup you are building.
Grow light hangers can also be secured to the ceiling of the growing space. Ensure that the equipment you use and the assemblies in the package are high-quality and sturdy.
Flimsy or feeble accessories cannot support the weight or load of the structure. Thus, they may end up falling and possibly damaging your plants.
Instead of a grow light hanger, you can use a grow light stand which is ideal for starting seeds or for keeping houseplants.
How to Hang Your Grow Lights: Detailed Steps Explained
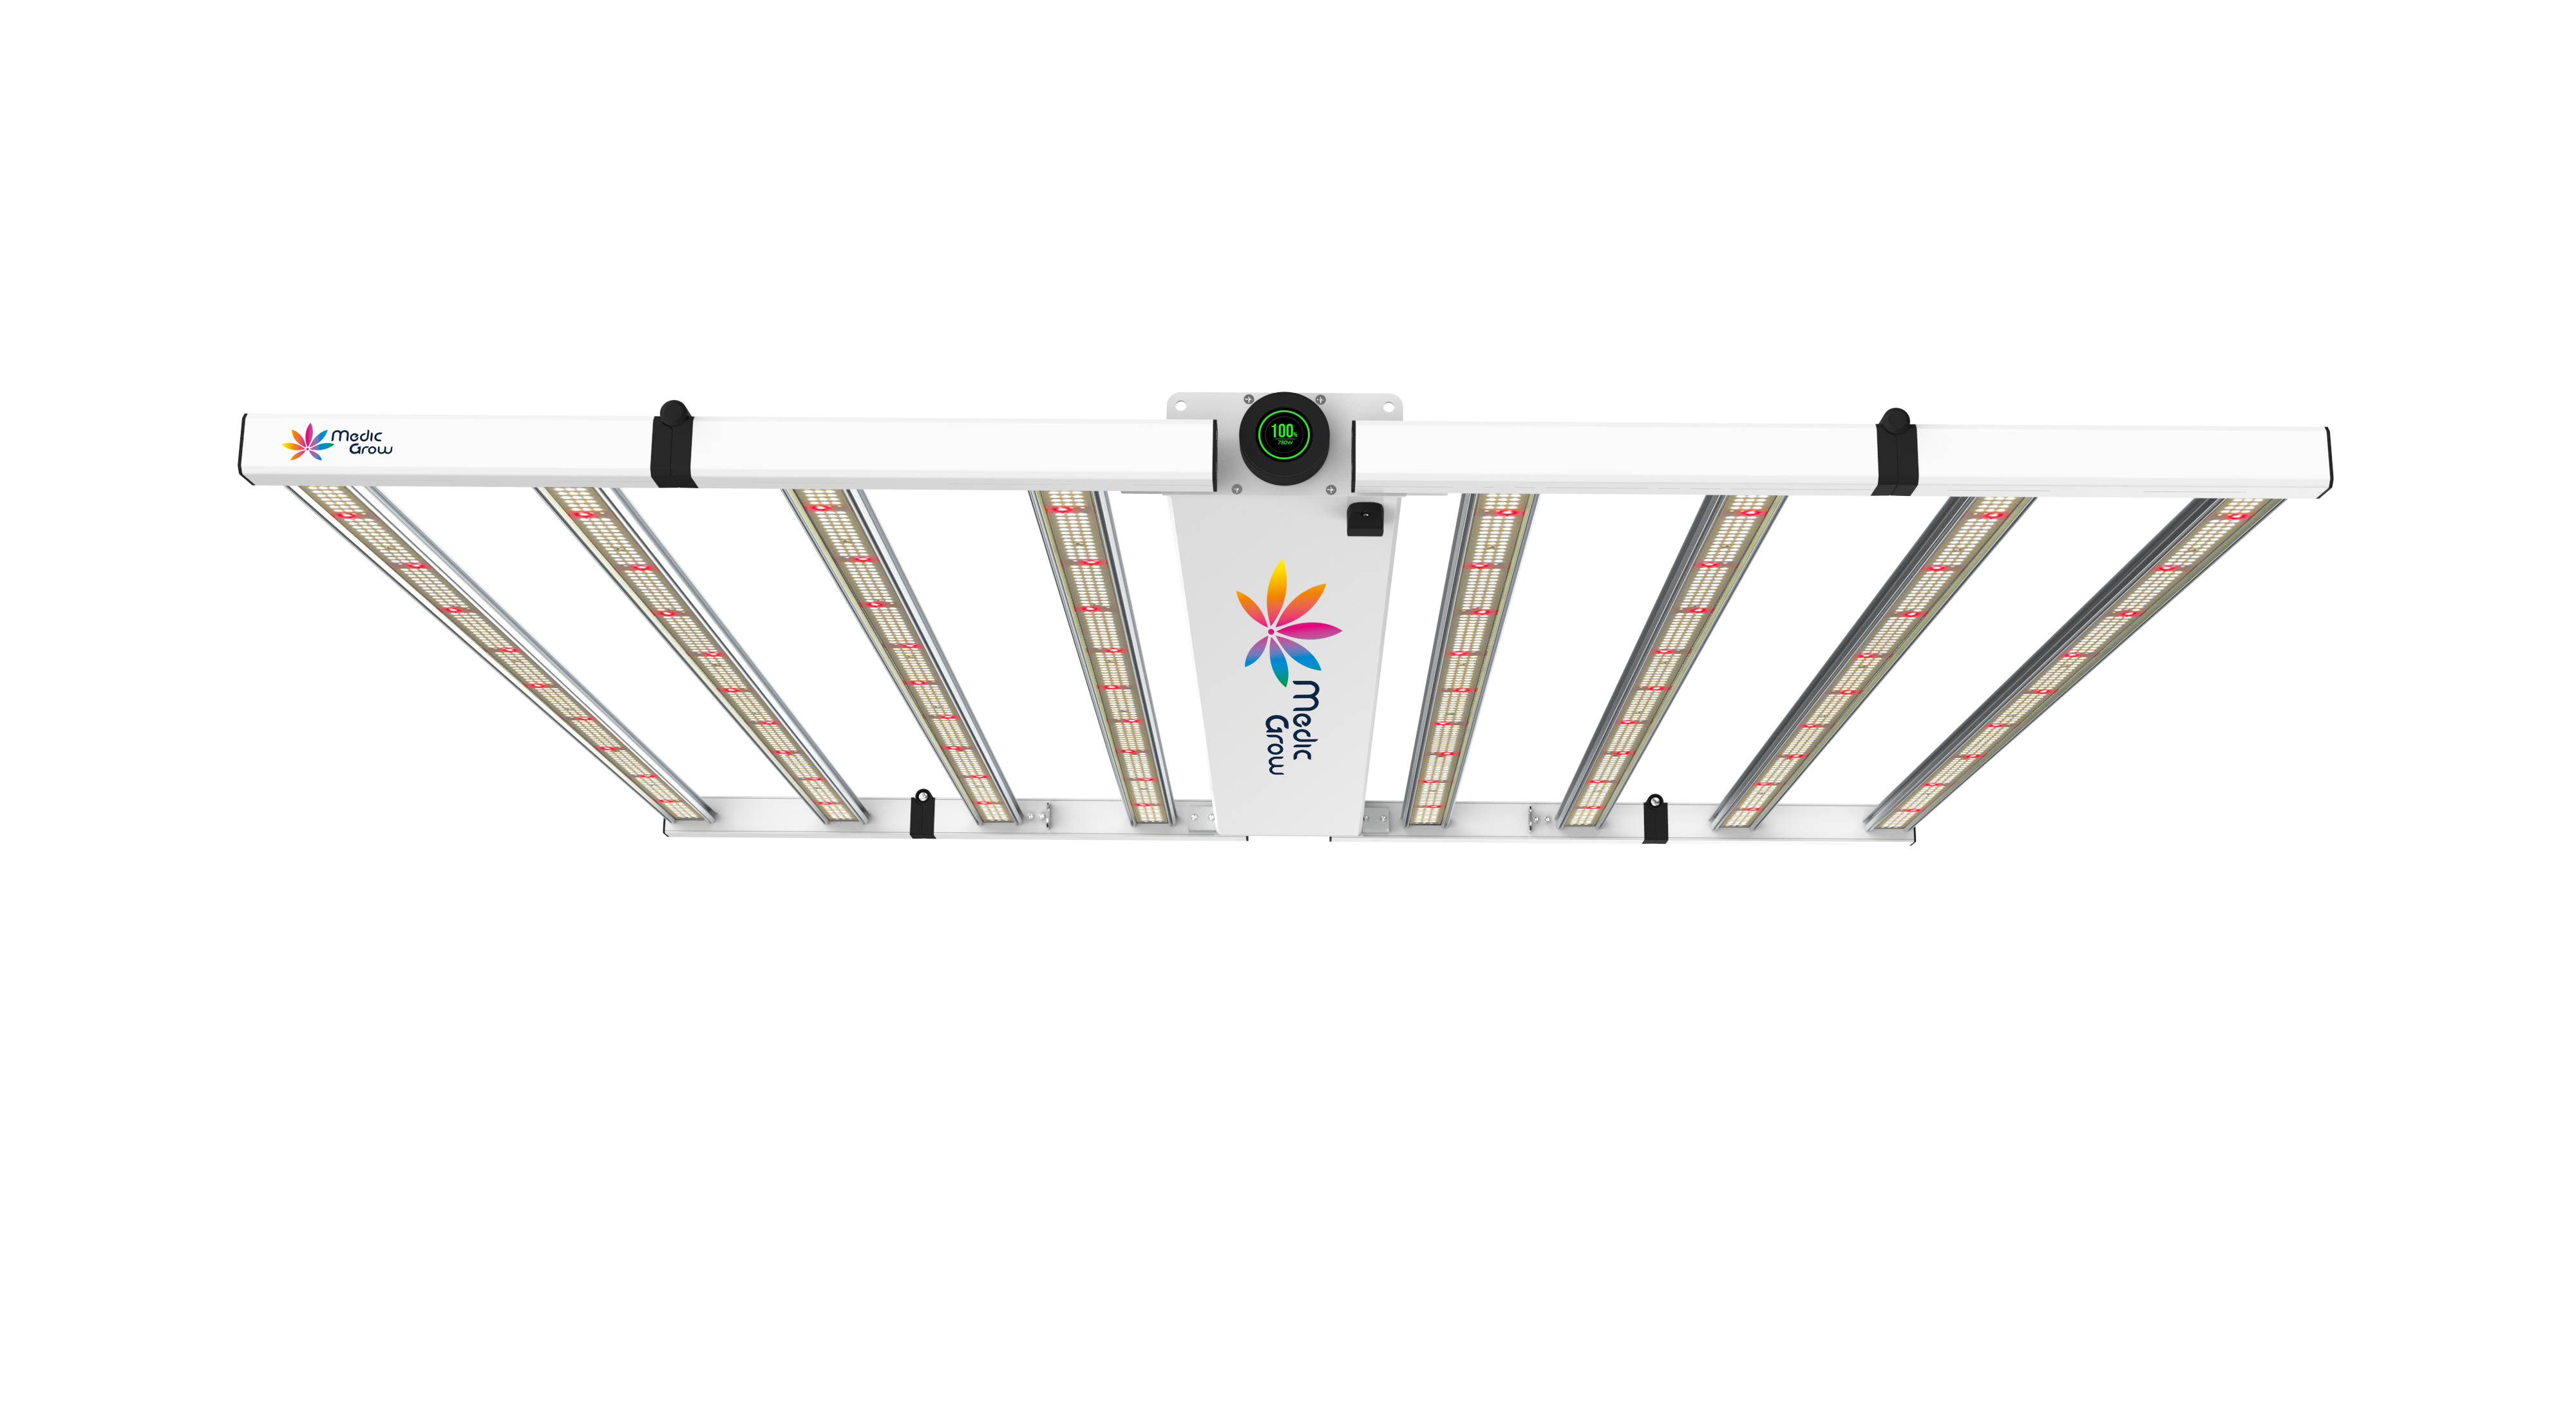
To make the process easier to understand, we'll take the example of Medic Grow Fold-8 Full Spectrum LED Grow Lights.
These lights are ideal for all stages of plant growth and offer high-end, superior performance, and hassle-free turnkey installation.
The package comes with:
- Power Cord
- RJ Wire
- Hanging Strings
- Fold-800W LED Grow Light

Everything is included in the package so it doesn't require you to purchase additional hanging equipment.
Warning: Each fixture should be installed by at least 2-3 people to ensure proper support, simple and easy installation, and prevent damage to the fixture. Make sure that you have family members or friends to assist you in installing the fixture.
The Medic Grow Fold-8 offers 4x4 ft and 5x5 ft of coverage, so you may need to calculate the total space you want to cover and get them accordingly.
A grow tent typically has reflective walls which maximize the growth potential of plants and leads to a high-quality yield. It's also great for controlling pests, because of its compact space.
This technique uses hanging strings and is probably the most beginner-friendly one to hang grow lights. It is applicable if you are hanging your grow lights in a tent.
For this, you need to have two hanging strings: one for the middle portion of the frame of the fixture and one to hold the wings. The grow light comes with hanging strings so you don't have to buy them separately.
The fixtures can be hung by following this technique:
- The first step is to find the center of the grow tent and determine the height of the grow lights. This is essential because the light needs to be consistent across the canopy.
- Hoop the hanging strings over the beam of the grow tent kits and attach them back to the same string.

- You can lightly pull the string to see if it's sturdy enough to hold the weight of the fixture. Follow the same step for both of the hanging strings.

- Once the strings are attached to the beams, it's time to attach the fixture. Having two-three people to assist you during this step is ideal.
- Start by hanging the main frame of the fixture. Use the carabiner clip to clip the ends of the strings onto the fixture and adjust the height.

- When the main frame is attached and looks stable, slowly open the wings of the fixture and use the carabiner clip to clip them on, one by one.

- Alternatively, you can suspend the fixture from the ceiling but ensure that the height between the canopy and the lights isn't too much.
- The next step is powering the fixture. Firstly, you need to ascertain the maximum number of fixtures that are allowed to connect in a circuit. You can then use power cords to connect fixtures. In the case of the Medic Grow Fold-8, you can chain up to 100 fixtures together for commercial purposes.

- If you only have one fixture, connect it with the 6-ft power cord that comes in the package.
For detailed operation of hanging Medic Grow Fold-8 led grow light in your grow tent, you can also check the video here:
Pro Tip:
Don't overload the circuit with more fixtures than it can handle. It may result in a fire and may be dangerous for you and the plants.
For this, you may need the assistance of an electrician who will help you determine potential hazards.
Next up: learn about the right timing to adjust the distance between the grow lights and the plants.
When Should You Adjust The Grow Light’s Distance From Plants?
As plants enter into different phases of growth, the grow lights may need to be adjusted to meet their present requirements.
This means that you will need to adjust the distance as they grow up to a specific height or when they require different intensities of light.
In case the plants grow taller, you may need to adjust the height of the lights to ensure that the lights aren't too bright for them.
Growers need to ensure that the distance between the plants and the lights must remain adequate for the proper growth of the plant.
Of course, there is no 'fixed' rule that you need to have your fixture at a certain height. The distance between the plants and the grow lights depends on how bright the lights are, the plant requirements, wattage, etc.
We have discussed this in our previous blog "LED Grow Light Distance Chart: How Far Should LED Grow Lights be from Plants?".
You can also refer to the chart below which shows how the distance between the lights & plants needs to be adjusted based on the wattage of your lights:

Before you begin, make sure to read our final tips to help you get started.
Final Tips For Growers
Adjust Mounting Height:
Fixtures should be mounted at a height of 6-12 inches. The mounting height needs to be adjusted as the plants grow in height and a consistent height should be maintained.
Check The Intensity Of The Light:
The Medic Grow Fold-8 LED grow lights are dimmable from 100% down to 40%. It makes the brightness ideal for plants in the growing phase.
Fixtures may need to be dimmed when plants are younger and the brightness needs to be adjusted as their requirements change.
Watch out for damage:
To ensure that your plants aren't damaged by high-intensity light, inspect them regularly. It would also help you understand how much light they need.
Even though LED lights are versatile and easier to use than other variants, it is a possibility that too much heat can damage them. This can be solved by proper air circulation and ventilation in the tent.
Make Necessary Adjustments:
It is important to make adjustments to the watering schedule of the plant as the seasons change.
In the winter months, plants may need less frequent watering. Similarly, the potting soil or medium may need to be checked. Soilless mediums need to be replaced once a year or so.
Make sure that you check for relative humidity in the environment and adjust temperatures if required.
Plants such as Orchids may need a variation in day and night temperatures to bloom. Likewise, different plants may have different needs.
Try it out yourself and spruce up your indoor garden. Now that you know how to hang grow light, make sure to check out the Medic Grow NEO 1000W LED grow light for your indoor garden or commercial usage.
Related Posts
Are LED Grow Lights Harmful to Humans?
Beginners Guide to Flushing Plants: Why, When, and How
Featured Products
44% off

Medic Grow MINI SUN-2 Full Spectrum Dimmable 150W-500W LED Grow Light for 2X2/3X3
Sale price
$279.99
Regular price
$498.00
Sale


Medic Grow Ez-8 Smart Dimmable Full Spectrum 1000 Watt LED Grow Light for 5X5 Planting
Price
From $660.00
Sold out

Low stock
Medic Grow Neo-780/1000 Smart Adjustable Spectrum LED Grow Lights 780/1000w for Veg and Flower
Sale price
$439.99
Regular price
$580.00
30% off


Medic Grow Smart-8 Full Spectrum Dimmable 760W LED Grow Light with Timer - High Yield Lamp for 5x5 Tent
Sale price
$439.99
Regular price
$629.00
Sale


Low stock
Medic Grow Venus Full Spectrum Cost-Effective 200W LED Grow Light for Vegetative and Beginner: 2X4FT
Price
From $149.99
Sale


Medic Grow Fold-650 Built-in dimmer 650W Led Grow Lights V1 Spectrum
Price
From $259.99
Sale


Medic Grow Fold 1200 Watt Commercial Red and Blue Full Spectrum LED Grow Light ETL & DLC Certified for 4X6 Planting
Price
From $639.99
Blog Posts
Behind the Glow: The Science of Precision in Every Medic Grow Light

December 29, 2025
Behind the Glow: The Science of Precision in Every Medic Grow Light
Medic LED Grow Lights: Leading the way in horticultural lighting standards


December 18, 2025
Medic LED Grow Lights: Leading the way in horticultural lighting standards
🌱 LED Grow Lights: A Hardware Engineer’s Buying Guide


November 21, 2025
🌱 LED Grow Lights: A Hardware Engineer’s Buying Guide
💡 Top + Bottom Grow Lights: The Future of Precision Cultivation


November 7, 2025
💡 Top + Bottom Grow Lights: The Future of Precision Cultivation
Contact Us with Any Idea!
- Choosing a selection results in a full page refresh.
!