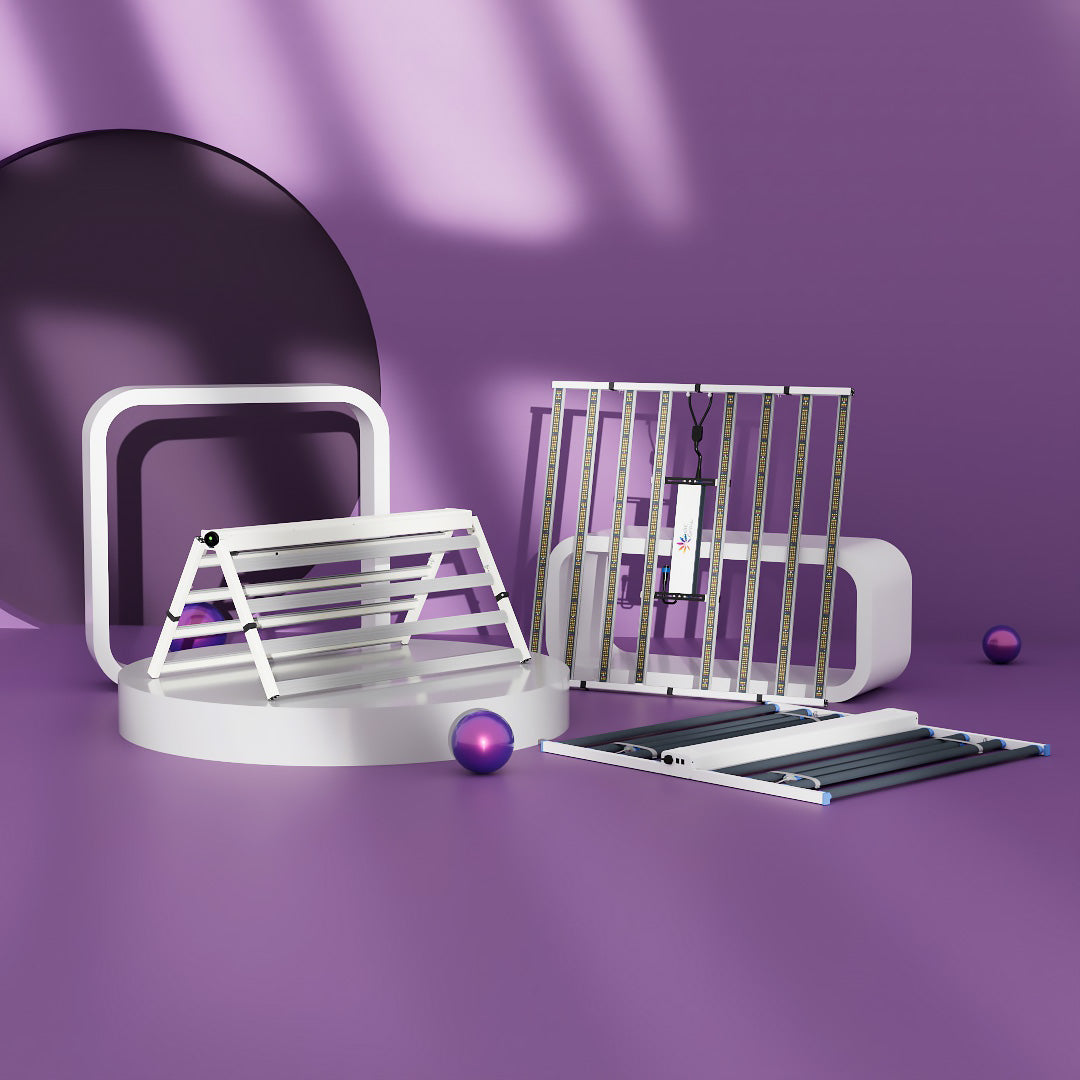
The Most Affordable LED Grow Light Stand for Indoor Plants
Growers always try to find many ways to spice up the planting conversation; one such ways is to subscribe to indoor growing. Whether you're a newbie or have grown a couple of plants already, the truth is there are discoveries to be made to get the best results.
One of such discoveries you will make, especially if you choose to grow plants indoors is the importance of an LED grow light stand.
An indoor grow light stand makes indoor planting easy and gives the best yield in strength, size, and fruitfulness.
- Part 1: Is It Necessary to Use Grow Lights for Seedlings?
- Part 2: What Are the Most Affordable Grow Lights?
- Part 3: Can Indoor Plants Do Well with LED Grow Lights?
- Part 4: Distance: A Major Factor That Determines The Choice of LED Grow Light Stands
- Part 5: Are Grow Light Stands Expensive?
- Part 6: Components of A Complete LED Grow Light Stand Set-up
- Part 7: Stepwise Approach to Building A DIY Grow Light Shelf
Is It Necessary to Use Grow Lights for Seedlings?
Knowing the difference in the requirements of seeds and seedlings will save you lots of headaches as you grow your plants through different phases.
For instance, all a seed needs is moist and warm soil with good humidity. But you need to add a good light source to the equation if you consider seedlings.
Having windows that are large enough to accommodate adequate amounts of sunlight will be fair enough for growing seedlings.

However, you will need to employ an artificial lighting system to get maximum results.
Good lighting, for instance, full-spectrum LED grow lights, can provide plants with a double advantage. They not only give the best lighting but help to preserve your plants by keeping them warm and not destroying them by overheating.
Some seedlings require heat to thrive; keeping them out in the cold wind near the window wouldn’t be the best option. All you need is to employ the best grow light stand to position your grow light and to provide the right temperature.
The desire to grow plants indoors is a matter of light adequacy. What assures this is a good LED grow light stand, as it offers the right balance of warmth and artificial lighting, similar to what sunlight offers.
What Are the Most Affordable Grow Lights?
LED grow lights like Medicgrow 800W grow lights have proven to be the cheapest and most efficient indoor grow lights. Initially, LEDs may seem to be expensive compared to their fluorescent counterpart. However, in the long run, you will need to make multiple replacements of fluorescent bulbs compared to the LEDs that need no replacement.
Another drawback other grow bulbs have is the need for replacement before going out. The average grow bulb’s intensity, aside from LEDs last for six months, especially for plants on stands.
However, LEDs never need replacing and can remain for many years. LED grow light stands are also easy to make; for this reason, they are an asset.
Can Indoor Plants Do Well with LED Grow Lights?
One of the most important factors to consider before selecting an option for your growing sessions is the consistency of results. LED grow lights offer this UV light for plants. These grow lights are beneficial to succulents, African violets, and vegetables.
The presence of LED grow lights doesn’t automatically determine the success of a planting session. This is because to ensure that seedlings get the best from them, they need to properly rest beneath these lights. This is where LED grow light stands come into place.

Everyone has different home arrangements, spaces, and goals for their garden (including indoor growing). This means no single LED grow light stand is a perfect fit for all.
So, there are recommended grow light stands that could be the perfect fit for you. Examples of suitable grow light stands for you include the closet, countertop, and custom and DIY wooden grow light stands.
Distance: A Major Factor That Determines The Choice of LED Grow Light Stands
The right distance between LED grow lights and plants is a factor to consider when choosing an LED grow light plant stand. What determines the required distance is primarily the stage of the plant.
It is important to keep seedlings at a 24-36 inches distance from the LED grow light. This depends on the power of the light itself. Keeping LEDs at the farthest distance possible from seedlings will prevent them from drying out.
When sprouting starts and roots have been established, you can then move the lights a bit closer. This usually becomes possible after 2-3 weeks of planting.
Consider a grow light stand that will proffer a 12-24 inches distance between the plant canopy and the LED grow light during the vegetative stage. The closer the light, the better, since at this stage, plants need to undertake photosynthesis.
The need for light decreases in the flowering stage.

Consider adjusting the grow light stand to bring the LED at a distance of 18-24 inches from the top leaves. The flowering stage comes with fruit production and an increase in plant height. If you wish to have taller plants, then it isn’t necessary to alter the distance between the light and the plant.
Are Grow Light Stands Expensive?
The cost of grow light stands depends on your choice, as the minimum you can spend starts from as little as $0. This is because a grow light stand DIY can be erected by using materials in the home like available rods and shelving units. But if what you’re considering is the best fit for your garden, you could spend hundreds of dollars this way.
The good news is that you can build your perfect-fit grow light stand with or without a huge budget.
Here are a few of the available grow light stand options you can consider:
The Cheapest Option
All you need to do here is to buy a couple of Screw Hooks and affix them to the bottom of a wood piece e.g., a kitchen cabinet or ceiling. This saves you the cost of having to build a stand from scratch. This option allows for easy installation and removal, plus you get to spend only a chicken feed to get them on display.
The drawbacks to this option includes:
- Limited height available
- The need to use the kitchen countertop to cook and tend dishes
To reiterate, with as little as $20 or less, you can construct a lasting indoor grow light in only a few minutes.
Wood Grow Light Stand DIY
This is one of the most preferred options by most growers for its accessibility and ease of construction. This option is so easy because most lumber stores will help you see the wood for you to the much-needed two-by-four inches.
This dimension depends on the grow light you have to install (only cut the wood to this dimension when you have to grow lights that are a perfect match). Most of the physical work is done by the lumber store, so all you need is to provide them with the measurements.

Image Source: motherearthnews.com
Don’t forget to purchase some 3-inches screws before you leave the store, and then process home to assemble your wooden grow light stand.
This option only takes a little space and can be easily moved around the house to ensure your seedlings get adequate exposure to light.
Using Existing Shelves
This comes to mind first if you want to spend little or nothing trying to construct an LED grow light stand. What you can do is clear out your shelf and fix LEDs at the top of each tier, then take your 1020 tray and place them underneath the light. Depending on how many spaces you have within your shelf, you can easily construct as much as a 3-tier grow light stand.
Compared to the wooden DIY grow light stand option, you don't need to do any physical activity like screwing or nailing the wood from the lumber store; you need to properly place the LEDs above the tray and connect it to the electrical source.
Using The Custom Grow Light Stand Option
As the name implies, you will need to make this grow light a perfect fit for your home by employing the principles of the wooden DIY grow light stand.
For example, you can use a laundry alcove, measure its length, breadth, and width, and then construct a growing station. Here you can make the grow lights hang from the base of every plywood piece.
You can also use a sheet to cover up the area, then place a heater at the base to ensure the temperature is always optimal for the seedlings. If you choose this option, make sure you spend ample time getting the measurements right to prevent the cost of purchasing extra lumber.
Components of A Complete LED Grow Light Stand Set-up
Guidelines
Setting up a grow light stand DIY requires you to follow a guide. Even though it is easy to erect, a guideline will save you the frustration most newbie growers tend to encounter along the way.
Plant Stands
Open shelves are the best options for LED grow light plant stands on a low budget. You also need wires and 1000W LED grow light tapes that contain power strips and dimmers. Other materials you need include:
- Wire strippers, solder, and soldering iron
- Scissors
- Coroplast
- Gorilla tape
- Black duct tape
- Light meter
- Hot glue or white zip ties
- Tape measure
- Power supply
- LED dimmer
Stepwise Approach to Building A DIY Grow Light Shelf
- Make a plan for your stand
You need to select the wire rack or open bookshelf for the grow light shelf. This step is essential and should take care of your time. Do well to configure the layout to ensure the wire connecting the shelves and the wire for the power adaptor is properly located behind your shelf. It will be easier to hide them that way.
Every light tape has one dimmer, 16.4 feet of LED light strips and a power adaptor. These light strips are also dimmable and can be adjusted to meet the needs of plants.
- Prepare the grow light setup
- Wiring the grow lights
Follow the dotted lines to cut through the light tape, ensuring to begin at the power adapter region of the same. The next thing to do is to solder the wires to the light strips and use the best connectors.
One concern of people at this stage is the safety of the soldering process because they believe doing this wrongly could lead to electrocution. But this isn’t a concern because of the low voltage of the AC adaptor.
The worst that could happen if things go wrong is that the light strips won’t come on in the first place. Take caution around the soldering iron because it could be hot and do well to solder correctly.
- Attach the light strips to the coroplast using gorilla tapes or other adhesives for reinforcement
- Attach the LED grow lighting to shelves
Conclusion
Knowing the best LED grow light stand for your indoor grown plants is paramount to a successful planting tenure. The most interesting aspect of using grow stands is their affordability – they cost as little as nothing to as much as a hundred dollars. Yet, how much you spend is determined by what you want and what fits perfectly into your home.
Indoor grow light stands help to give your plants adequate exposure to light and help to solve the problem of warmth. You can rest assured that following the processes outlined in this article, you will have no issue with replacement costs or damage from unusual light intensities.
All you should aim for is the best grow light stand for your plant; it is worth the research and input as the end justifies the means.
Need to redefine your indoor growing? Start using LED grow light stands now!
Related Post:
Featured Products
Blog Posts
Contact Us with Any Idea!
- Choosing a selection results in a full page refresh.
!


