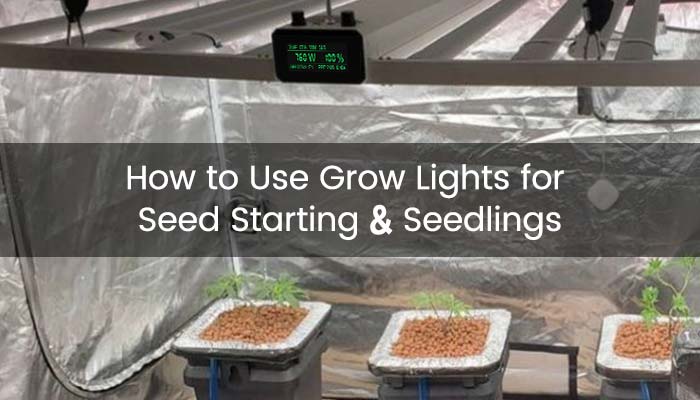
How to Use Grow Light for Seed Starting & Seedlings
LED grow lights have become a favorite among indoor growers due to their high efficiency, low heat output, and smart features, making them ideal for various plant growth stages.
However, starting seeds with grow lights can be a bit tricky. If the light is too weak, the roots and stems may not develop properly, while too much light can cause light stress and hinder growth.
Don't worry! In this guide, Medic Grow provides a step-by-step tutorial for seeds starting with grow lights to help your seedlings grow healthy, strong, and full of vitality using LED grow lights.
Main Content:
- 1. Why LED Grow Lights Are Ideal for Seedlings
- 2. How to Choose LED Grow Lights for Seedlings
- 3. Techniques for Starting Seeds with Grow Lights
- 4. How to Use Grow Lights for Seedlings
- 5. Monitor Seedlings: Signs of Issues and How to Adjust
- 6. Conclusion
- 7. FAQs Related to Seedlings and Grow Lights

Why LED Grow Lights Are Ideal for Seedlings
LED grow lights are ideal for seedlings because they provide energy-efficient and low-heat lighting, which is ideal for the delicate early stages of plant growth. Unlike traditional lights, LEDs use less power, making them cost-effective while still delivering the right amount of light.
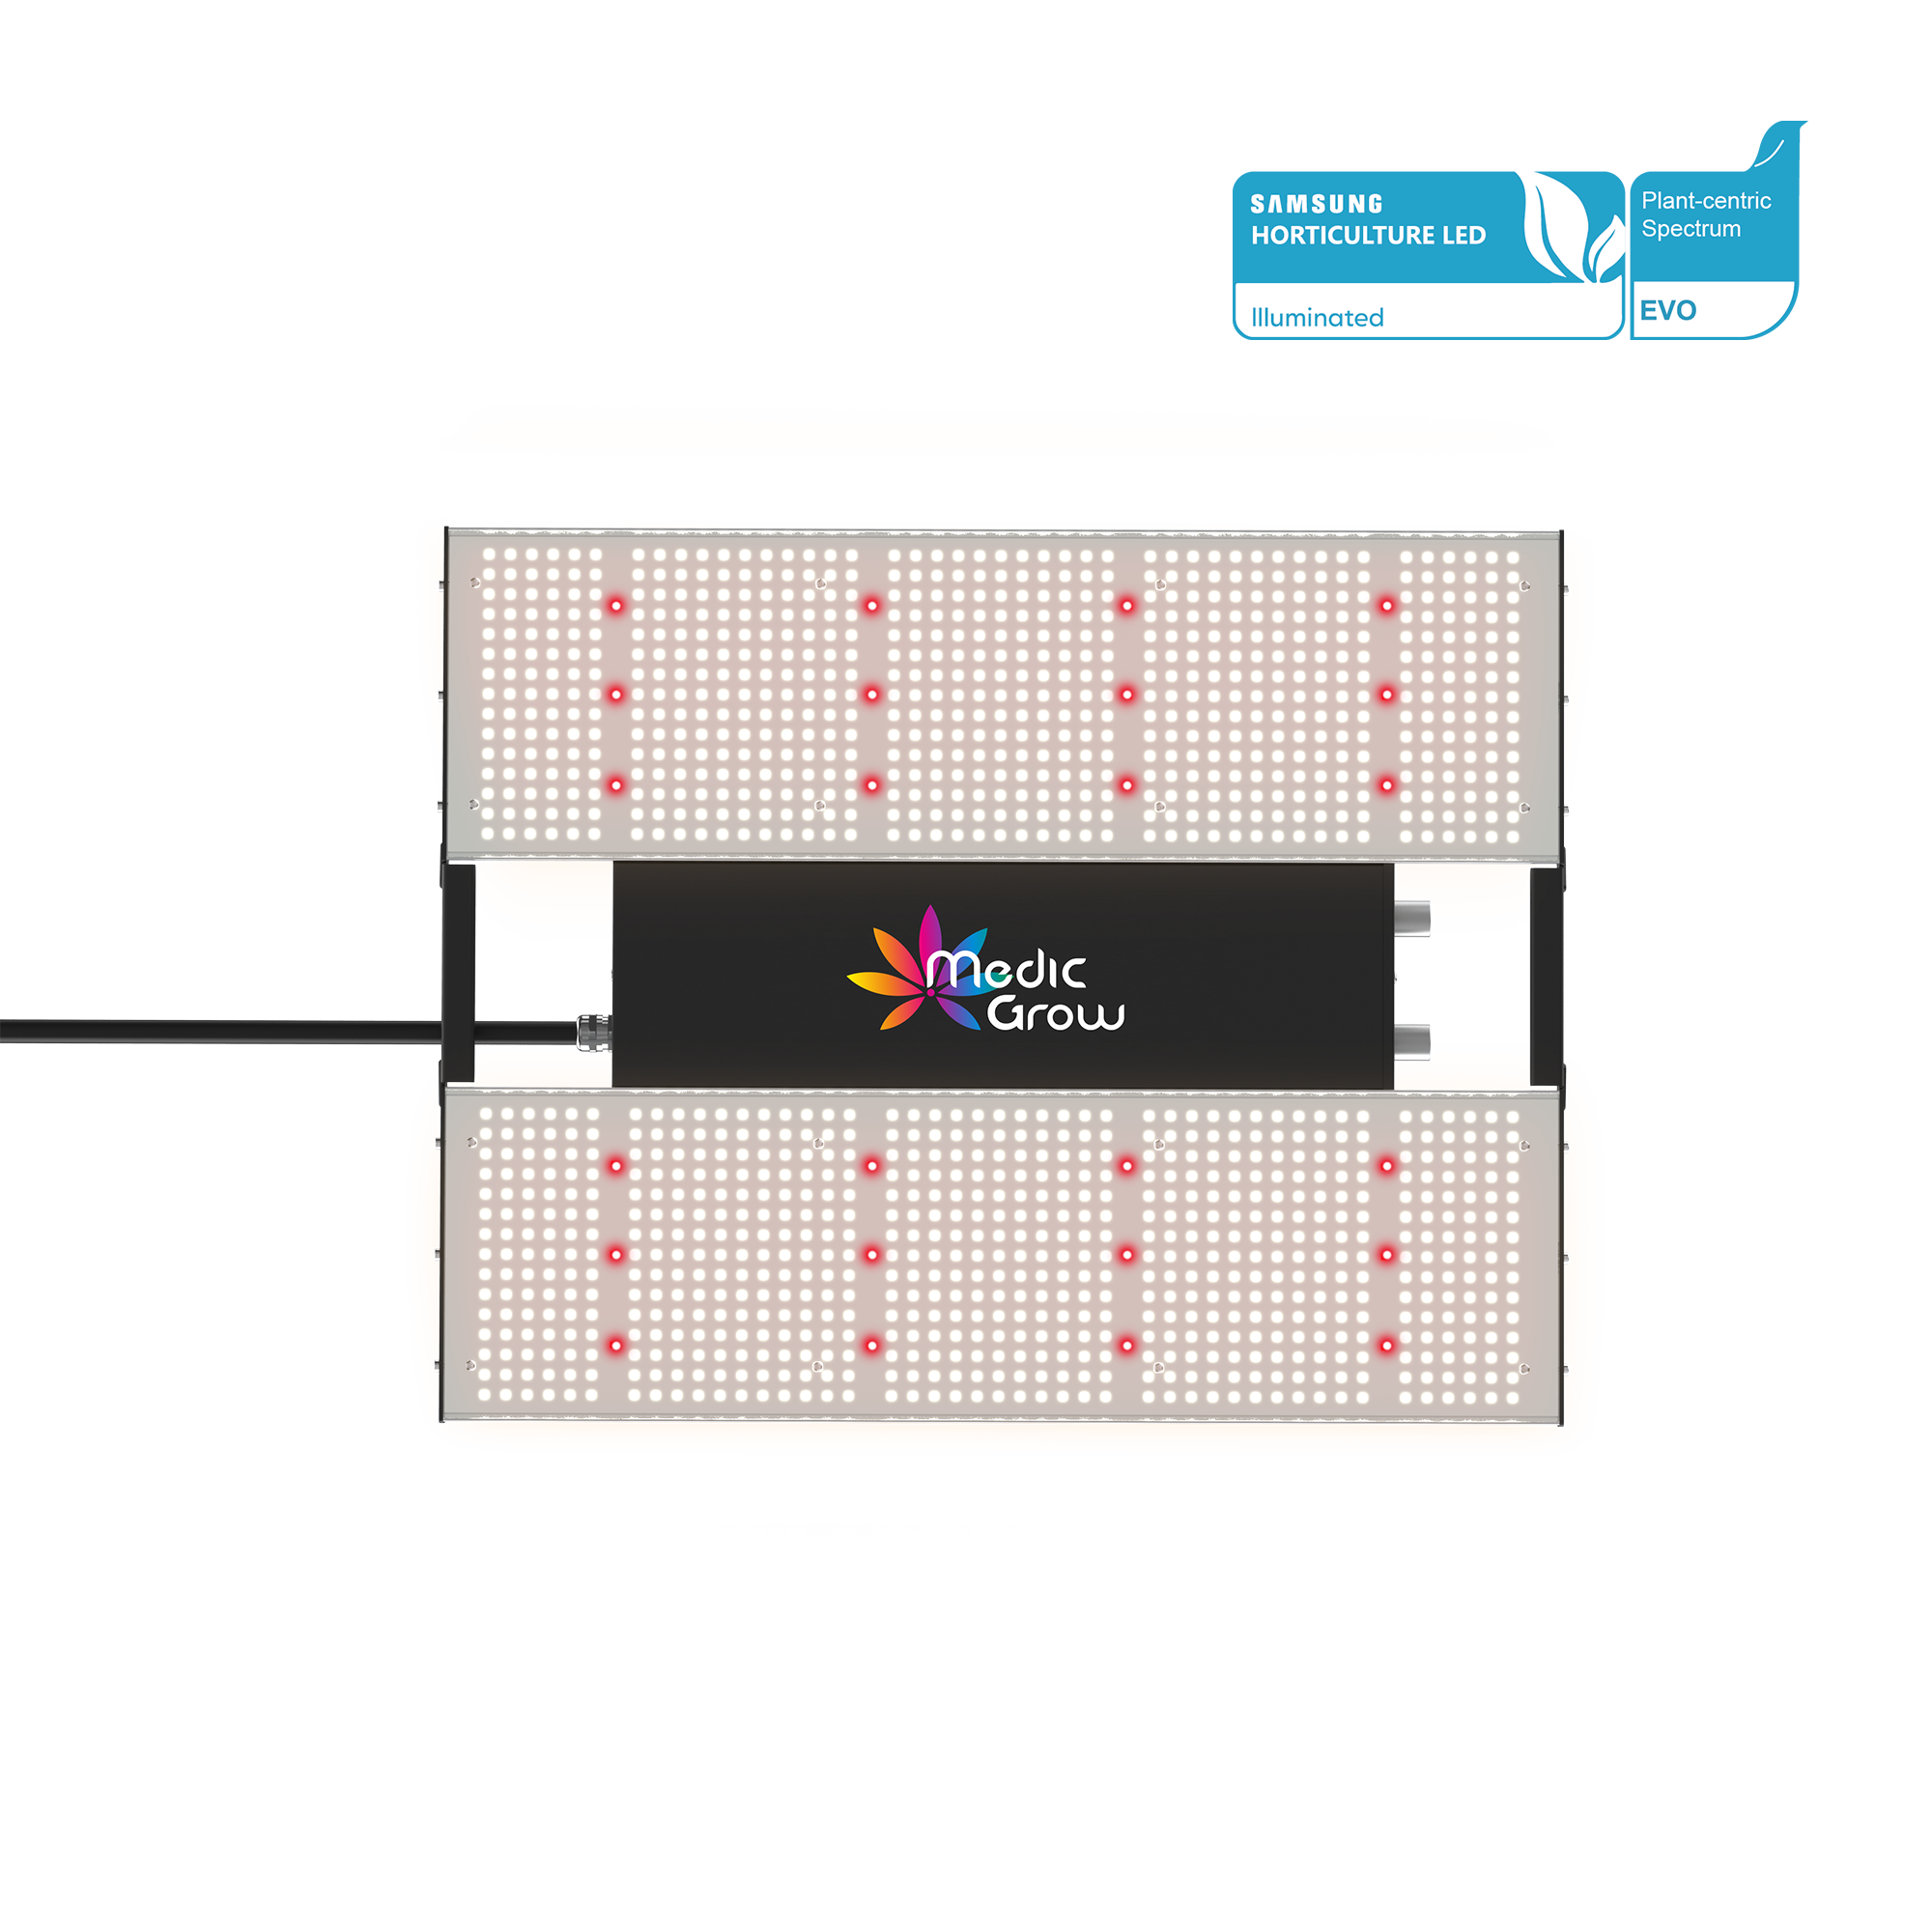
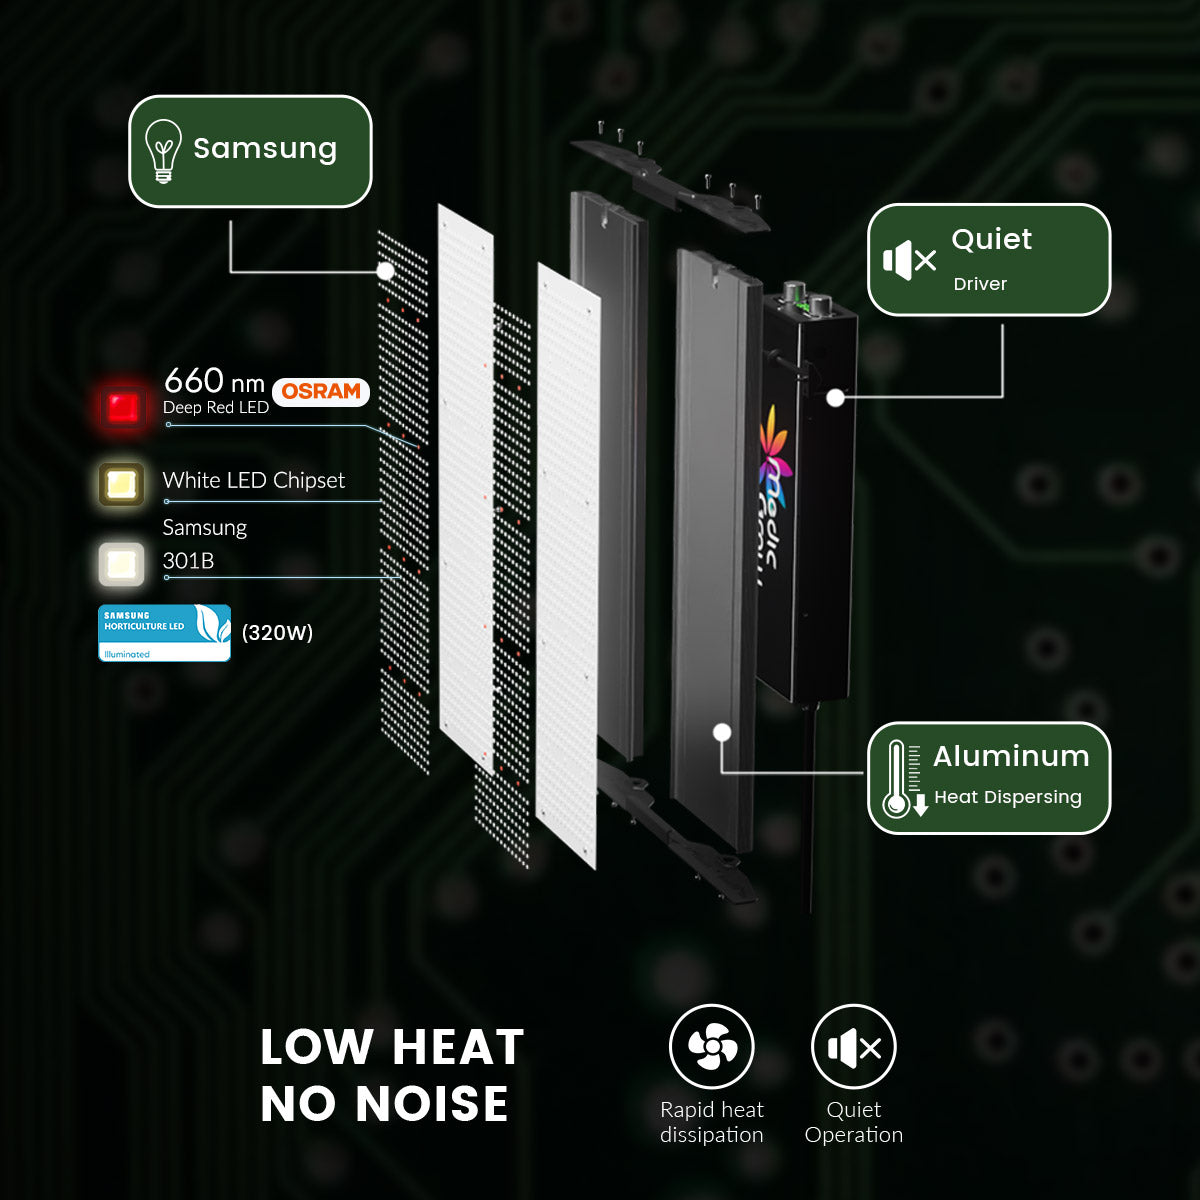
Additionally, their low heat output allows you to place the lights closer to the seedlings without risking heat stress, ensuring optimal growth conditions. Many LED grow lights like Medic Grow grow light offer a full-spectrum light that closely mimics natural sunlight, which is essential for seedlings to develop strong roots and stems.
The adjustable intensity feature also allows growers to fine-tune the light levels, preventing issues like light burn. With their long lifespan and reliable performance, LED grow lights ensure consistent, healthy development for seedlings.
In short, LED grow lights are the best choice for seedling and seed germination because of their adjustable spectrum, light intensity, and low heat output.
How to Choose LED Grow Lights for Seedlings
When selecting an LED grow light for seed germination and seedlings, consider the following factors to ensure healthy early plant development:
Full-Spectrum Lighting: Choose an LED grow light that offers a full-spectrum range, including blue light, which is essential for promoting strong root and stem growth during the seedling stage. A balanced spectrum mimics natural sunlight, giving young plants the light they need for photosynthesis.
Low Heat Output: Seedlings are delicate and sensitive to excessive heat. Opt for an LED light with minimal heat emission, allowing you to place the light closer to the plants without risking heat stress. This promotes efficient growth without damaging young seedlings.
Adjustable Light Intensity: Seedlings require less intense light compared to mature plants. Select an LED light with adjustable intensity so you can fine-tune the brightness to suit the early growth stages, avoiding light burn or overstimulation.
Energy Efficiency: LEDs are known for their low energy consumption. When choosing a light for seed germination, consider one that balances power efficiency with sufficient light output to save on electricity costs while promoting healthy plant development.
By focusing on these key factors, you can choose an LED grow light that provides optimal conditions for seed germination and strong seedling growth.
Techniques for Starting Seeds with Grow Lights
Successful seed germination is essential for healthy plant growth. To ensure your seeds germinate effectively and develop into strong seedlings, here are three proven techniques for starting seeds with grow lights:
Paper Towel Method
Start by dampening two paper towels with distilled water and placing the seeds between them.
Keep the towels in a warm, dark environment with a temperature of around 70-80°F (21-27°C) to maintain optimal moisture and warmth.
Check daily for the emergence of the taproot, which typically appears within 1-5 days. Once the taproot has sprouted, transfer the seeds carefully to soil or another growing medium.
Soaking Seeds in Water
To accelerate germination, soak seeds in a glass of room-temperature water for 12-24 hours. This helps to soften the seed coat and prepares the seeds for faster germination.
When the seeds sink or develop a taproot, they can be transferred to a moist paper towel or directly planted into the soil. Once they sprout, moving them under grow lights will help boost their early growth phase.
Direct Soil Germination
For growers who prefer a more hands-off approach, direct soil germination is a great option. Plant the seeds directly into lightly moistened soil at a depth of about 1-2 cm.
Maintain the soil temperature and moisture levels to ensure successful sprouting. Once they emerge from the soil, immediate light exposure is critical for healthy seedling development.
Controlled Environment
Throughout the germination process, maintaining a consistent temperature of 70-80°F (21-27°C) and a humidity level of 70-90% in grow tent is essential.
This can be achieved using a humidity dome or plastic cover, which helps retain moisture and warmth, creating an ideal environment for the seedlings.
As soon as the seedlings break the surface, they need light to prevent them from becoming leggy and weak.
Utilize LED Grow Lights
Once seedlings emerge, proper light exposure becomes crucial. Place seedlings under grow lights, ensuring that the light intensity is gentle but sufficient to support early growth.
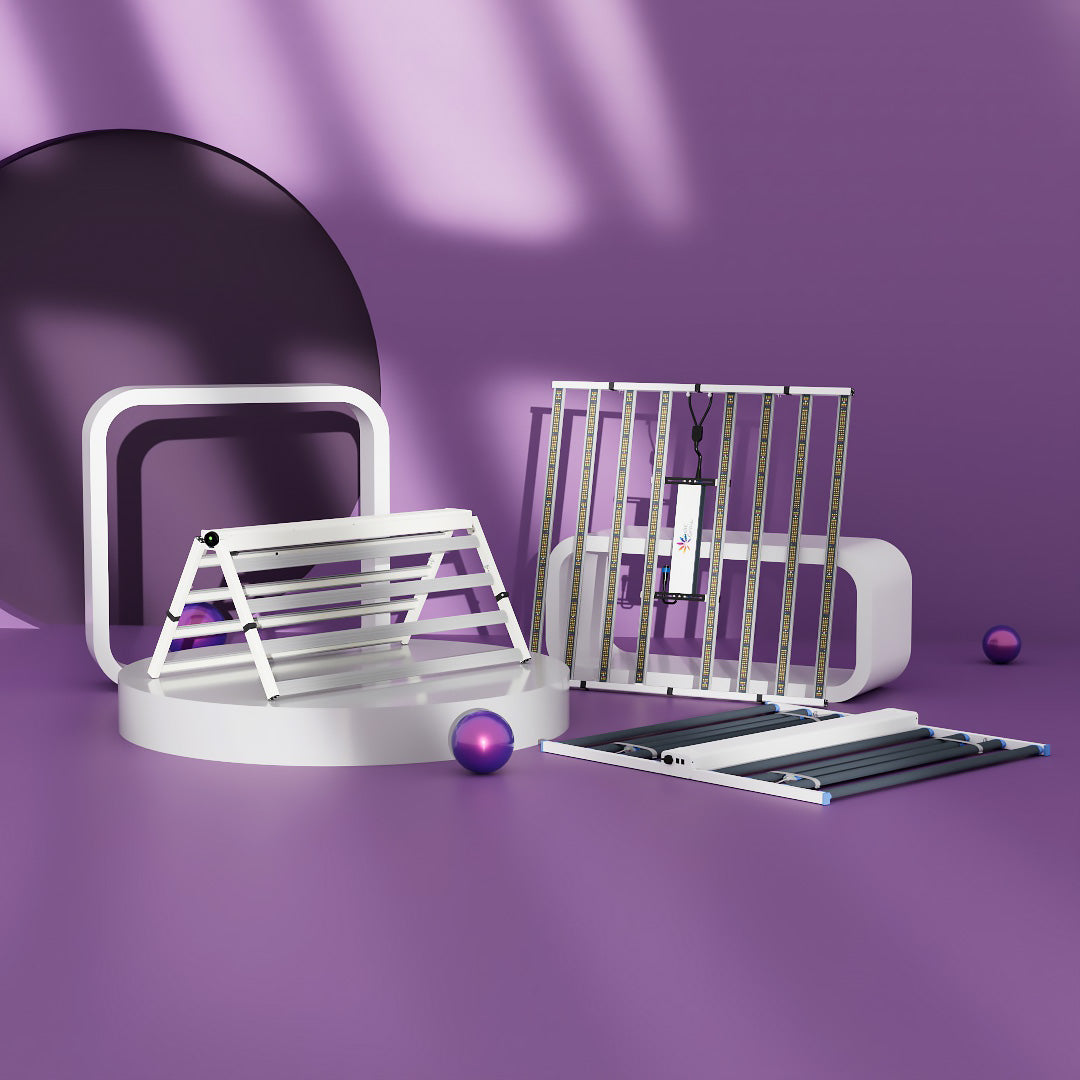
Medic Grow NEO-780 LED grow lights are ideal for this stage, as they can be adjusted for both light intensity and spectrum. Keep the lights about 2-4 inches above the seedlings to prevent stretching and ensure even growth.
The right amount of light during these early stages helps seedlings grow strong stems and develop healthy roots, setting the foundation for a robust plant.
By using these techniques, you can increase your chances of successful seed germination and set the stage for healthy plant development.

How to Use Grow Lights for Seedlings
After starting seeds, using grow lights effectively for seedlings is essential to ensure healthy and vigorous early plant growth. Here’s a step-by-step guide:
Set Up the Grow Light
Place the grow light 2-4 inches above the seedlings. As they grow, adjust the height to maintain this distance, ensuring that the plants receive sufficient light without being burned.
Light Duration
Keep the grow lights on for 16-18 hours a day. Seedlings need long periods of light to grow properly, but ensure they have 6-8 hours of darkness to rest and metabolize nutrients.
Monitor Temperature and Humidity
Seedlings thrive in temperatures between 65-75°F (18-24°C). Make sure the grow light does not produce excess heat that could affect the temperature. Additionally, monitor humidity levels to prevent the seedlings from drying out.
Adjust Light Intensity
If your LED grow light has an adjustable intensity feature, start with a lower intensity for delicate seedlings and gradually increase it as they grow stronger. This prevents overstimulation or light burn.
By following these steps, you can create the ideal environment for starting seeds and nurturing healthy seedlings under grow lights.
Monitor Seedlings: Signs of Issues and How to Adjust
In addition to using grow lights correctly, regularly monitoring your seedlings' growth is equally important to ensure they thrive during the early stages.
Monitoring seedlings for optimal growth involves identifying signs of trouble early and making necessary adjustments to promote healthy development. Here’s what to watch for and how to correct common problems:
Yellowing Leaves
This often indicates a nutrient deficiency, especially nitrogen, but can also be caused by overwatering or insufficient light. A lack of essential nutrients hampers chlorophyll production, leading to yellow leaves.
To adjust, ensure proper watering habits to avoid root suffocation, provide adequate light, and consider adding a balanced nutrient solution, particularly nitrogen-rich fertilizers, if necessary.
Leggy or Stretched Growth
Seedlings that become too tall and weak typically stretch to reach for light due to insufficient illumination. This weakens the stems, making the seedlings more prone to collapse.
To fix this, lower the grow light or increase its intensity to provide stronger illumination. Ensure the light is placed 2-4 inches above the seedlings to promote compact, healthy growth.
Wilting or Drooping
Wilting or drooping seedlings can be caused by underwatering, overwatering, or exposure to excessive heat. Overwatering can suffocate roots while underwatering deprives them of moisture.
Regularly check soil moisture levels and adjust your watering schedule accordingly. Ensure the temperature remains within the ideal range (65-75°F or 18-24°C) to prevent heat stress.
Slow Growth
Slow growth in seedlings may result from inadequate nutrients, poor soil quality, or improper environmental conditions like low light or incorrect temperatures.
Assess the growing medium for proper drainage and adequate nutrient content. Monitor and adjust temperature and light conditions to ensure they support optimal growth, and consider using a light nutrient feed.
Spots, Mold, or Discoloration
These are clear signs of disease, pest infestations, or fungal infections, often due to excessive humidity or poor air circulation. Mold and mildew thrive in stagnant, overly humid environments.
To remedy this, improve air circulation by using a small fan, reducing humidity levels, and inspecting for pests or fungus. If mold or mildew is detected, lower humidity and treat affected plants immediately with appropriate fungicides or pest control.
By carefully observing these signs and making the appropriate adjustments, you can ensure your seedlings grow healthy and robust, paving the way for successful plant development.
Conclusion
By adjusting light intensity, duration, and positioning, you can create the optimal growth conditions for your seedlings. With our right lighting setup, techniques, and tips, I hope you'll be well on your way to a successful indoor garden.
FAQs Related to Seedlings and Grow Lights
1. Should I Use a Grow Light to Germinate Seeds?
Using a grow light to germinate seeds is highly beneficial for indoor gardening. It provides a controlled light spectrum and consistent light exposure, helping to maintain the ideal temperature range for germination. This encourages strong stem development and compact growth.
2. How Long Do You Leave Grow Lights on When Starting Seeds?
When starting seeds, it's best to leave grow lights on for 16 to 18 hours per day. This gives seedlings the light they need for healthy photosynthesis and growth, while also providing a 6 to 8-hour dark period to support proper development.
3. How Many Hours of Light Do Seedlings Need?
Seedlings need 14 to 16 hours of light per day for optimal growth. This extended light period supports healthy photosynthesis, helping the young plants develop strong stems and leaves. It's important to also provide 8 to 10 hours of darkness, as the rest period aids in their development.
Featured Products
Blog Posts
Contact Us with Any Idea!
- Choosing a selection results in a full page refresh.
!


