


MiniSun & 2'X4'
MiniSun & 3'X3'
Venus 200W & 2'X4'
Venus 200W & 3'X3'
Fold-650 & 4'X4'
Fold-650 & 5'X5'
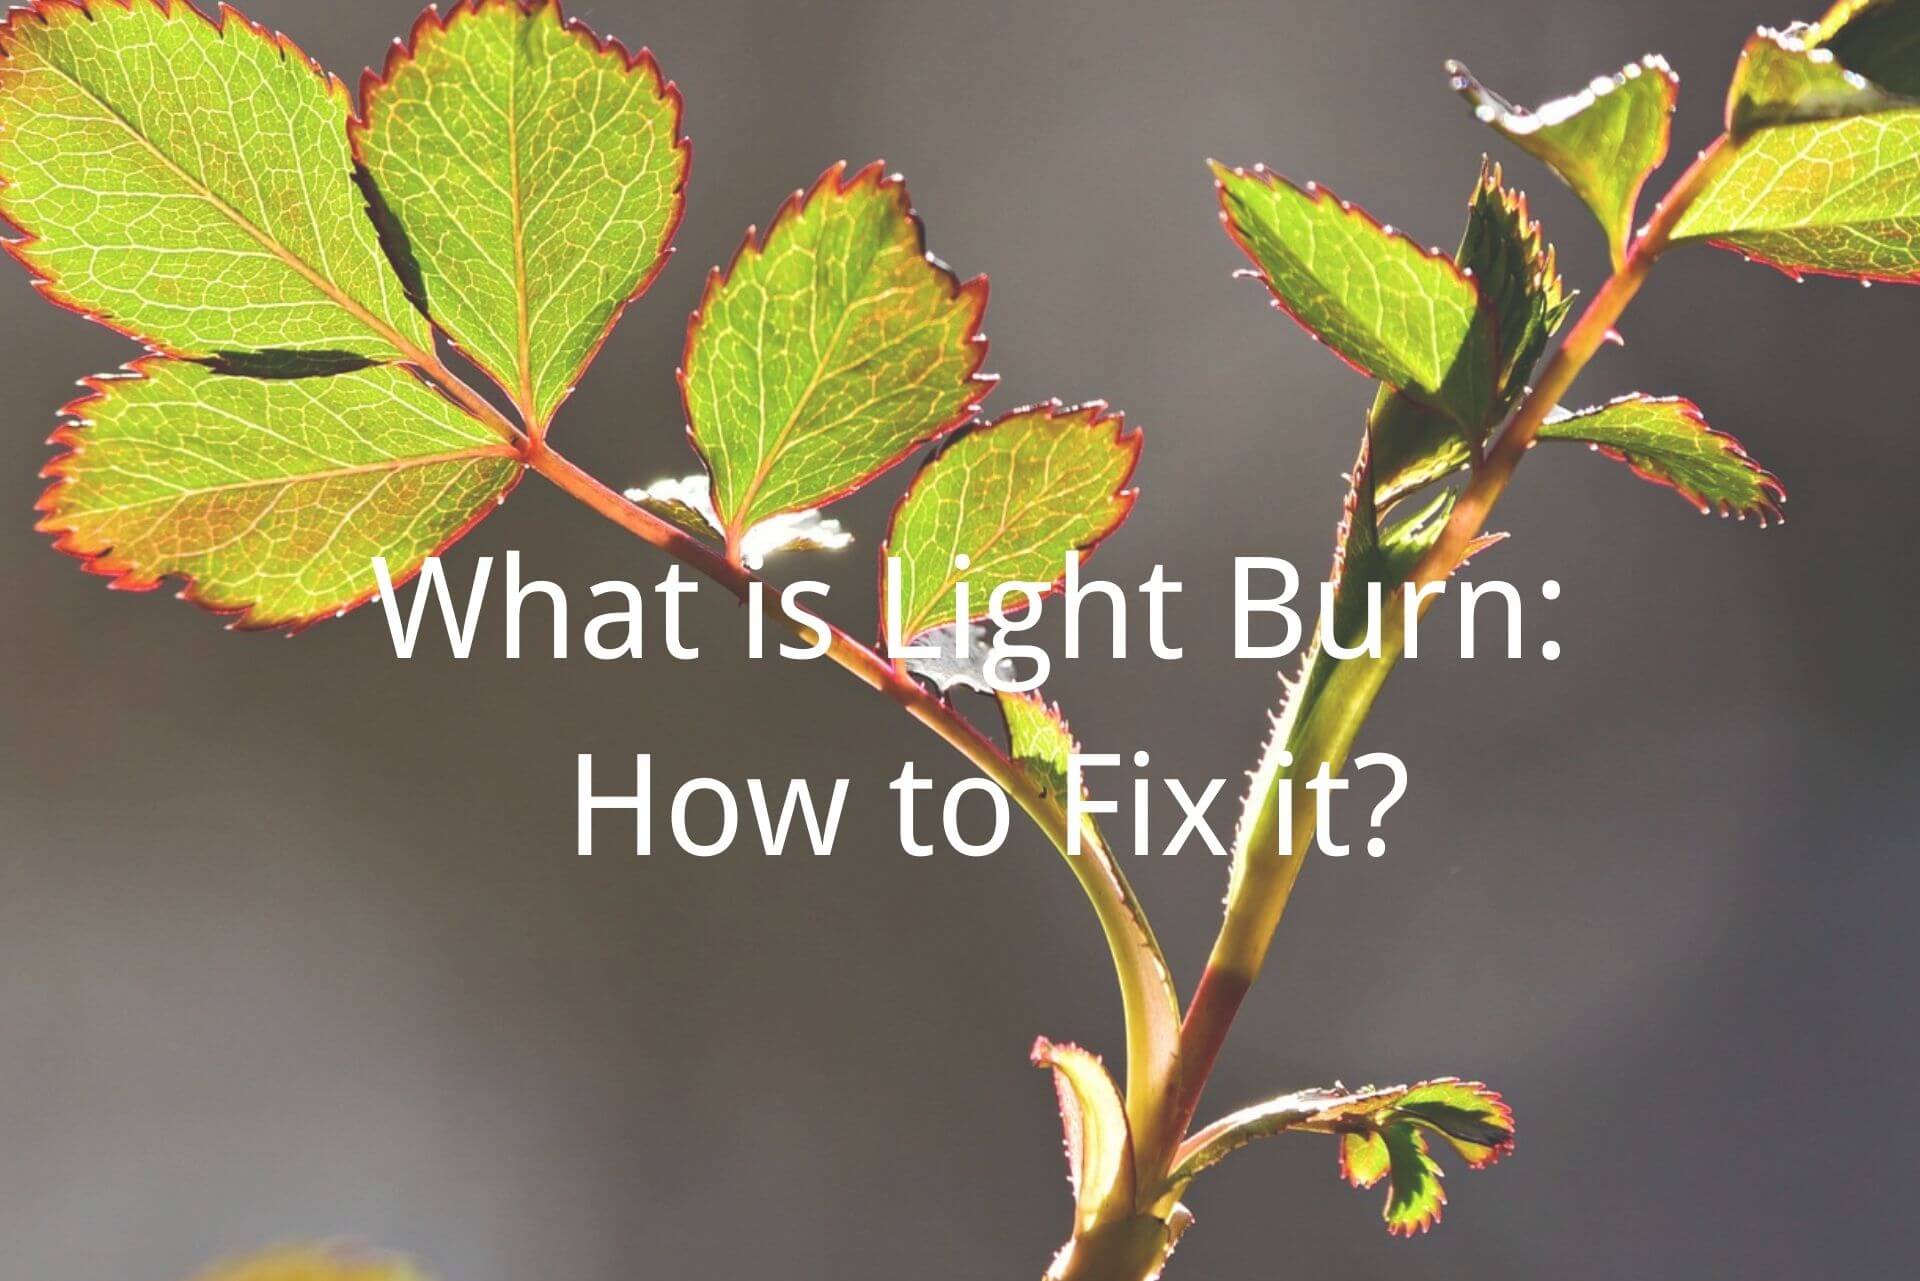
What is Light Burn: How to Fix it? 2024 Update
Indoor growing has many perks, but along with its benefits, some drawbacks or issues must be kept in mind. One of the severe issues that indoor growers face is Light Burn.
Since LED grow light is indispensable for indoor plants, it is essential to know about light burn to prevent it at the right time and provide your plants with an optimal environment for better yield.
Beginners usually do not know much about it, and it is quite tricky to distinguish whether the plant is having light burn or any other issue, such as nutrient burn.
But don't worry, in this article, we will guide you on Light Burn. We will start from the basics and then have a look at its symptoms, causes, and solutions. We will explain everything you need to know.
Let's begin.
- Part 1: What is a Light Burn?
- Part 2: Light Burn vs Nutrient Burn
- Part 3: Light Burn Symptoms & Solutions
- Part 4: Will LED Grow Lights Burn Plants?
What is a Light Burn?
Before we dive into Light Burn, we should understand the term light stress.
Light stress refers to the state in which plants receive excessive light, which is harmful. If the plant is under light stress for a long time, it will lead to light burn.
The issue of light burn is only associated with indoor growing. If your plants get sunlight, you don't need to worry about it.
Indoor grow rooms use artificial lights to mimic the sun, and they are very near to the plant, which is why there are chances of light burn.
In the case of light burn, the plant gets too much light which affects the yield. The indoor grower needs to keep an eye on the issue and provide the plant with the light it needs. A favorable environment increases the output of the plant.
Plants need light to prepare their food and survive in nature. Light plays an important role in Photosynthesis, and if there is insufficient light, the plant will not be able to produce food and provide the expected yield.
It is evident that light is necessary for plants; however, its surplus can damage the plant and affect the yield. So growers need to know how much light the plants need.
Like humans, plants also need everything within the limit. For a healthy life, we need to control the number of calories and nutrients we take. Scarcity and surplus of anything can affect our health.
The same is the case with plants. They should not be given too much or too little light.
Whether the light is insufficient or more than the limit, the plant suffers badly. Thus, it is vital to provide optimal light to the plant to ensure a favorable environment for maximum yield.
Many growers define light burn as the changing of the color of leaves from green to yellow. In most cases, leaves turn yellow, but there can also be another color, such as brown.
Keep in mind that yellowish leaves do not always indicate light burn; there can be other issues such as nutrient burn. Thus, it is quite difficult to distinguish whether your plant is suffering from light burn or any other issue.
Let's have a look at light burn vs nutrient burn so that you can detect light burn in your indoor plants.
Light Burn vs Nutrient Burn
We have already discussed that light burn is due to excessive light, but on the other hand, nutrient burn is due to excessive nutrients in the soil.
Nutrient burn (Nute Burn) is also known as fertilizer burn because the reason behind it is the surplus of nutrients in the fertilizer. Due to excess nutrients in the soil, plants do not get enough water. The nutrients block water and plants suffer from water deficiency.
Like light burn, nutrient burn also shows a change in the color of leaves, and mostly, the leaves turn brown or yellow.
At first, you will see a yellowish tint on the tip of the leaves, and then the yellow will change to rusty brown. If the condition continues, the leaves start to bend and become crispy.
In the initial stages, the only symptom is the change of color in leaves. Thus, it becomes difficult to distinguish between a light burn and a nutrient burn.
The easiest way to determine whether it is light burn or nutrient burn is to check the portion of the plant that is affected by the change in color.
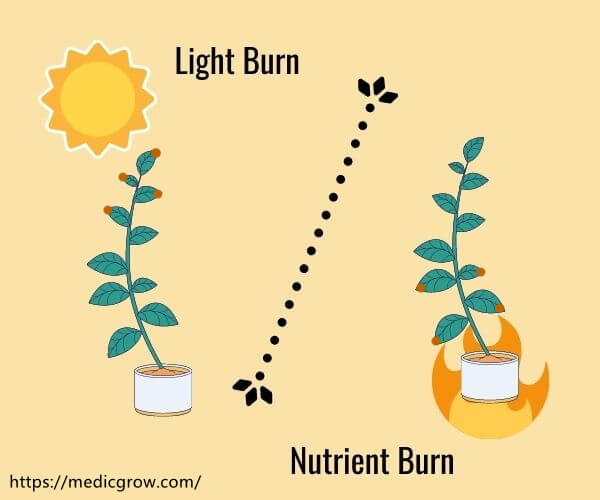
In the case of nutrient burn, the symptoms start to appear from the bottom of the plant. It is because light burn is associated with the soil, and the leaves at the bottom of the plant are affected more than the leaves at the top.
In contrast, the symptoms of light burn appear at the top of the plant. The leaves at the top suffer the most as they are very close to the light fixture. Moreover, you will see yellowish leaves in the light burn, but the veins of the leaves will remain green.
Light Burn Symptoms & Solutions
Light Burn Symptoms
It is important to identify light burns before it is too late. Therefore, you should know the symptoms to identify the problem.
Keep in mind that symptoms do not appear instantly. You will see signs of light burn if the plant is under light stress for a few days or weeks; it is a slow process.
Let's have a look at the first signs of light burn.
1) Yellow Leaves
The first and the most important symptom of light burn is yellow leaves.
The green leaves of the plant turn yellow. This happens to the leaves at the top of the plant and starts from the tip of the leaves. If you have noticed this symptom, it is time to take action.
2) Bleached Buds
If the plant has buds, the color of the buds can also indicate the presence of light burn. The flower buds are bleached. You will see them in a noticeable white color.
3) Green Veins
Although the leaves start to turn yellow in light burn, the color of the veins remains the same. It means the leaves will not entirely turn yellow.
4) Leaves Pointing Upwards
This symptom is a bit hard to notice, or your plant might not have this symptom. The leaves of the plant bend upward and indicate light burn.
5) Hard to Remove Leaves
You might think that yellow leaves will start to fall, but this is not going to happen. You cannot remove the leaves easily. If your leaves are falling after changing the color, there could be another issue, such as nutrient deficiency.
How to Fix Light Burn
Light burn is due to excess light, so the only solution is to decrease the intensity and increase the distance between the light fixture and the plants.
After implementing the solutions, your plant will move towards light burn recovery, and finally, the symptoms will start to disappear.
There are two common solutions used to deal with light burns.
1) Adjustment of Light Fixture
The best solution is to move the light fixture away from the plants. If you have enough space and can do that, you should do it immediately once you notice the symptoms.

It seems pretty easy, but it is not. You know that you need to move the fixture a bit farther from the plants, but do you know how far? This could be quite confusing.
Thus, it is better to have a lux meter to measure luminous flux per unit area.
Every plant needs a certain range of flux for optimal yield. You can search about your plant and get to know the minimum and maximum flux it requires. Once you know that, you can use a lux meter to measure the lux in your grow room and adjust the light fixture accordingly.
The requirement of lux also depends on the stage of growth. It is vital to select the right range of lux to prevent light-burn seedlings, bleached buds, and other issues.
Light manufacturers also recommend certain heights for their products. You can also read their specifications. However, the best way is to calculate the lux and adjust the light fixture as needed.
2) Low-stress Training
Low-stress training can help deal with light burns, but it is not a recommended method in normal conditions.
For instance, if you have enough space to move the light fixtures farther, there is no need for low-stress training. This is only helpful when you are out of space, and the height of your grow room and tent is not enough.
In this method, we bend the stem of the plants to increase the distance between them and the grow tent kits. You need to bend the stem towards the soil. For that, you can use cable ties.
While using this method, make sure you don't hurt the plants; bend the stem carefully and provide enough support using cable ties.
Will LED Grow Lights Burn Plants?
LED grow lights are the most advanced, efficient, and suitable for indoor grow rooms. Indoor growers prefer 150-watt LED grow lights because of their features and optimal results. If you are looking for long-term benefits, there is nothing better than LED grow lights.
But the question is, do LED grow lights burn plants after all their commendable features?
In a word, yes; LED light burn is possible.
There is a chance of light burn if you are using LED lights, especially like 1000-watt grow lights; however, the chances are much lower than other types of grow lights.
The cause of light burn does not primarily depend on the type of the grow light; it depends on the distance between the light and plants and how much light (lux) the plant is receiving.
If the light fixture is too near to the plant, your plants will suffer from light burn no matter what type of grow light you are using. Thus, to ensure optimal performance, you need to take care of the lux levels.
LED lights are much better than other lights, and they can easily prevent this problem. Most LED lights come with adjustable strings, so you can easily adjust the height.
The best thing about some UV grow lights, such as Medicgrow 800-watt grow light, is the brightness or intensity adjustment. These LED lights have a knob to adjust the intensity or lux levels and make it according to your plants' needs.
In this case, you don't need to adjust the height. Thus, these lights are perfect even if the height of your grow room is not enough.
Simply put, LED grow lights are the best, but you need to hang them at a suitable distance and control intensity to prevent light burn.
Related Posts:
Featured Products
Sale


Medic Grow Fold-8 Full-Spectrum 760w Commercial LED Grow Lights ETL & DLC Certified for 4X4/5X5
Price
From $360.00
Sale

Medic Grow MINI SUN-2 Full Spectrum Dimmable 150W-500W LED Grow Light for 2X2/3X3
Price
From $189.00
Sale


Medic Grow Ez-8 Smart Dimmable Full Spectrum 1000 Watt LED Grow Light for 5X5 Planting
Price
From $439.99
17% off

Medic Grow Neo-780/1000 Smart Adjustable Spectrum LED Grow Lights 780/1000w for Veg and Flower
Sale price
$479.99
Regular price
$580.00
25% off


Medic Grow Smart-8 Full Spectrum Dimmable 760W LED Grow Light with Timer - High Yield Lamp for 5x5 Tent
Sale price
$469.99
Regular price
$629.00
Sale


Medic Grow Venus Full Spectrum Cost-Effective 200W LED Grow Light for Vegetative and Beginner: 2X4FT
Price
From $179.99
Sale


Medic Grow Fold-650 Built-in dimmer 650W Led Grow Lights V1 Spectrum
Price
From $289.99
Blog Posts
Behind the Glow: The Science of Precision in Every Medic Grow Light

December 29, 2025
Behind the Glow: The Science of Precision in Every Medic Grow Light
Medic LED Grow Lights: Leading the way in horticultural lighting standards


December 18, 2025
Medic LED Grow Lights: Leading the way in horticultural lighting standards
🌱 LED Grow Lights: A Hardware Engineer’s Buying Guide


November 21, 2025
🌱 LED Grow Lights: A Hardware Engineer’s Buying Guide
💡 Top + Bottom Grow Lights: The Future of Precision Cultivation


November 7, 2025
💡 Top + Bottom Grow Lights: The Future of Precision Cultivation
Contact Us with Any Idea!
- Choosing a selection results in a full page refresh.
!