


MiniSun & 2'X4'
MiniSun & 3'X3'
Venus 200W & 2'X4'
Venus 200W & 3'X3'
Fold-650 & 4'X4'
Fold-650 & 5'X5'
6 Stages of Plant Growth
Growing green herbs involves various green herb plant stages, with the most important being the green herb flowering stage. Careful attention during the green herb plant flowering stage can help you achieve the desired flowers.
Each green herb growth stage requires specific growing light intensity, photoperiod, green herb nutrient ratios, temperature, and water. Before the green herb flowering stage, issues like "How to identify the sex of the green herb seed?" and "What nutrients are required for growing green herb?" may arise.
It can be challenging for new growers, especially when there's little room for error during the flower. However, Medicgrow has created a complete guide in this post to help you navigate through all the green herb growth stages, enabling you to maximize green herb yield and quality.
Main Content:
- 1. How Long Does It Take for the Green Herb to Grow?
- 2. Germinating Green Herb Seeds
- 3. Green Herb Seedlings Stages
- 4. Green Herb Veg
- 5. Pre-Flowering
- 6. Green Herb Flowering Period (Week-by-Week)
- 7. Harvesting Green Herb
- 8. Conclusion
How Long Does It Take for the Green Herb to Grow?
The time it takes for a green herb to grow from seeds to harvest depends on several factors, including the strain, growing conditions, and cultivation methods.
Indoor growers have more control over the growing environment with grow tent kits and can often speed up the process, while outdoor growers depend more on the natural growth cycle. Here's a general growing green herb timeline:
Growing green herb Timeline:
- Germinating green herb Seeds: 1-7 days
- green herb Seedlings: 2-3 weeks
- green herb Veg: 3-8 weeks
- Pre-Flowering: 1-2 weeks
- green herb Flower: 6-10 weeks
- Harvesting green herb
Germinating Green Herb Seeds
Germinating green herb seeds typically takes 1 to 7 days in the first green herb plant stage. The exact time can vary depending on factors such as seed quality, the method used for germination, environmental conditions, temperature and humidity. Here's a brief overview of the time needed for different germination methods:
- Paper Towel Method: Seeds usually begin to sprout within 1 to 7 days.
- Direct Planting Method: Seeds generally take a similar time to sprout, typically 3 to 7 days.
- Water Glass Method: Seeds usually crack open and start sprouting within 12 to 48 hours, after which they can be moved to another medium to continue germination, often taking an additional 1 to 3 days to sprout fully.
Overall, germination is usually complete within a week.
Before germinating green herb seeds, It is necessary to determine the sex of green herb seeds when cultivating green herb. Only female green herb plants produce flowers, while male green herb plants, mainly used for breeding and seed production, can reduce natural extract content and overall green herb yields in the cultivation area.
Identifying the gender of green herb seeds can be challenging, but fortunately, the appearance of the seeds—such as their shape, color, or size—can predict their gender. Female green herb seeds are usually rounder and more pronounced than male green herb seeds. They typically have a mottled or marbled appearance with a mix of light and dark browns.
Besides, you can also tell the difference between male vs. female green herb plants through DNA testing. To ensure you cultivate female plants successfully, purchase feminized seeds and choose darker-colored seeds for germination, also avoid light green or white seeds as they will likely fail to germinate.
How to Germinate Green Herb Seeds?
Germinating green herb seeds is the first crucial step in green herb plant stages. Here are three common methods to germinate green herb seeds, along with some notes:
Paper Towel Method
This is one of the simplest to germinate green herb seeds in the green herb growth stage. Place the green herb seeds between two moist paper towels, making sure they’re damp but not soaked. Put the paper towels in a container or on a plate, lightly cover it to maintain humidity, but don’t seal it completely to allow air circulation.
Keep the container with green herb seeds in a warm, dark place, with a temperature between 18°C and 24°C (64°F to 75°F). Typically, seeds will start sprouting within 1 to 7 days. During this time, ensure the paper towels stay moist, and if they dry out, gently mist them with water.
Direct Planting Method
This stage of pot growing method is great for those who prefer to plant green herb seeds directly in their growing medium. Start by choosing a light, loose soil or another medium like peat moss or coco coir. Create a small hole about 0.5 to 1 cm deep, place the seed in it with the pointed end facing down, and lightly cover it with soil.
Then water gently to keep the medium moist, but be careful not to overwater. Place the pot in a warm environment and maintain moisture. Green herb Seeds usually germinate within a few days to a week.
Water Glass Method
The water glass method is another easy and effective way to germinate green herb seeds in growing green herb stages. Simply place the seeds in a glass of room-temperature water and let them soak for 12 to 24 hours. During this time, the seeds will absorb water and should sink to the bottom. Be careful not to soak the seeds for more than 48 hours to avoid drowning them.
Once the seeds crack open and a small white root appears, you can transfer them to a moist paper towel to continue germinating or plant them directly in the growing medium. This method is ideal for those who prefer germinating green herb seeds in a water glass before moving them to a medium.
Post-Germination Care
It's advisable to maintain a suitable temperature (around 22°C to 26°C or 72°F to 79°F) and humidity levels between 70% and 90% to encourage healthy growth in stages of pot growing. It’s best to keep the seeds in the dark during germination. Once you germinate a green herb seed, handle the delicate seedlings with care during transplanting to avoid damaging their roots.
Green Herb Seedlings Stages
When we observe the green herb seedlings emerging from their seed shells in stages of pot growing, we enter the green herb seedling stage. It is important to consider the frequency of watering, how much light for green herb seedlings, and the temperature for green herb seedlings.
How Long Is the Seedling Stage for Green Herb Plants?
The green herb seedlings stage typically lasts 2 to 3 weeks. During this stage, the plant develops its first true leaves but is still fragile at this point, so it's important to maintain the right environmental conditions, including proper light, temperature, and humidity.
How Much Light Do Green Herb Seedlings Need?
For green herb seedlings, light intensity is crucial and should be moderate to avoid light stress. The ideal Photosynthetic Photon Flux Density (PPFD) for green herb seedlings typically ranges between 100 to 300 µmol/m²/s. Here’s the detail.
Light Requirements for Green Herb Seedlings:
- PPFD: Optimal light intensity for green herb seedlings ranges from 100-300 µmol/m²/s. This range provides enough light for healthy growth without overwhelming the young plants. Moreover, full-spectrum LED grow lights help develop strong and healthy roots.
- Light Duration: An 18/6 light cycle is the ideal light duration for seedling green herbs. 18 hours of light and 6 hours of darkness encourage healthy vegetative growth without overstressing the plants.
- Light Source: LED grow lights like Medicgrow Minisun-2 150W grow lights are highly recommended for green herb seedlings due to their efficiency and ability to control light intensity and light duration.
- Distance: The light source should be positioned about 24-36 inches (60-90 cm) above the green herb seedlings. Adjust this based on the PPFD output of your specific light setup.
By maintaining the PPFD within the recommended range and adjusting based on the plants’ response, you can ensure that your green herb seedlings receive the right amount of light to develop strong, healthy roots and foliage in growing green herb stages.
Read Also: Best LED Light for Green Herb
Temperature for green herb Seedlings
The ideal temperature range for green herb seedlings is 20-25°C (68-77°F), a temperature that aids in photosynthesis and root development during stages of growing green herbs. Nighttime temperatures can drop slightly to 18-22°C (64-72°F) to mimic the natural environment and aid in healthy green herb plant growth.
Temperatures above 28°C (82°F) can lead to stunted growth and problems such as wilting, while temperatures below 18°C (64°F) can stunt seedling growth and increase the risk of disease in growing green herb stages. By maintaining proper temperatures, seedlings will be stronger and healthier going into the next stage of growth.
How Often to Water Green Herb Seedlings in Soil Indoor?
When watering indoor green herb seedlings in soil, it's advisable to maintain a balance by keeping the soil moist but not overly saturated. Water your seedlings every 2-3 days, but this can vary based on factors such as the size of the container, temperature, and humidity. Smaller containers dry out faster and may require more frequent watering.
Tips for Watering Green Herb Seedlings:
- Check the Soil: Before watering green herb seedlings, check the top inch of the soil. If it feels dry to the touch, it's time to water. If it's still moist, wait another day and check again.
- Avoid Overwatering: green herb seedlings are vulnerable to overwatering, which can lead to root rot. Ensure the soil is well-draining and that excess water can escape from the bottom of the container.
- Drooping Leaves: If the green herb leaves are drooping and the soil is dry during the stages of growing the green herb, the plant needs water. If the leaves are drooping and the soil is wet, you might be overwatering.
Keeping a close eye on your seedlings and adjusting based on their needs will ensure they grow strong and healthy.
Good management of the green herb seedlings' stages promotes healthy root and vegetative development, improving plant disease resistance throughout the growing green herb stages. After this period, the plant will transition into the green herb vegetative stage, where it will focus on rapid growth.
Green Herb Veg
The green herb veg typically lasts 4 to 8 weeks in stages of pot growing, depending on the plant variety, growth goals, and environmental conditions. Different strains may have varying requirements for the vegetative period, and growers can adjust this stage’s length to achieve the desired plant height and yield.
Environmental factors like light cycles, temperature, and humidity also impact the duration of the green herb veg. Optimizing these conditions helps promote healthy growth, shortening or extending this phase. Green herb growing 6 weeks vegetative is ideal for growers seeking a quicker harvest cycle while still achieving a good yield.
In contrast, green herb growing 8 weeks vegetative in the green herb growth stage allows for larger, bushier plants with a more robust structure and higher yield potential, but it requires more time, which can reduce the number of harvests in a year.
green herb Grow 8 Weeks Veg
To achieve an 8-week green herb growth cycle with higher yields during growing green herb stages, start by selecting a strain that thrives in longer veg. Using a nutrient-rich and well-draining growing medium, coupled with high-nitrogen green herb fertilizers, will support robust plant development. Gradually increase nutrient levels throughout the cycle to match the plant's growing needs.
Incorporating training techniques like topping and low-stress training (LST) encourages the growth of multiple branches and better light penetration, while high-stress training (HST) can stimulate additional flower sites.
Maintaining optimal environmental conditions with 18 hours of light and 6 hours of darkness, temperatures between 20-25°C (68-77°F), and humidity levels around 50-70% in stages of growing green herbs. Regular monitoring for pests and green herb nutrient deficiencies ensures plants remain healthy, maximizing their potential yields during the 8 weeks.
green herb Grow 6 Weeks Veg
To successfully implement a 6-week green herb veg during growing green herb stages, choose a strain that responds well to shorter veg periods and ensure the plants receive adequate light (18 hours of light and 6 hours of darkness), with temperatures between 20-25°C (68-77°F) and humidity levels around 50-70%.
Use nutrient-rich soil and provide nitrogen-rich green herb fertilizers to support growth. Also, incorporate training techniques like topping and low-stress training (LST) to create an even canopy and maximize light exposure, ensuring the plants develop a strong structure and multiple flower sites.
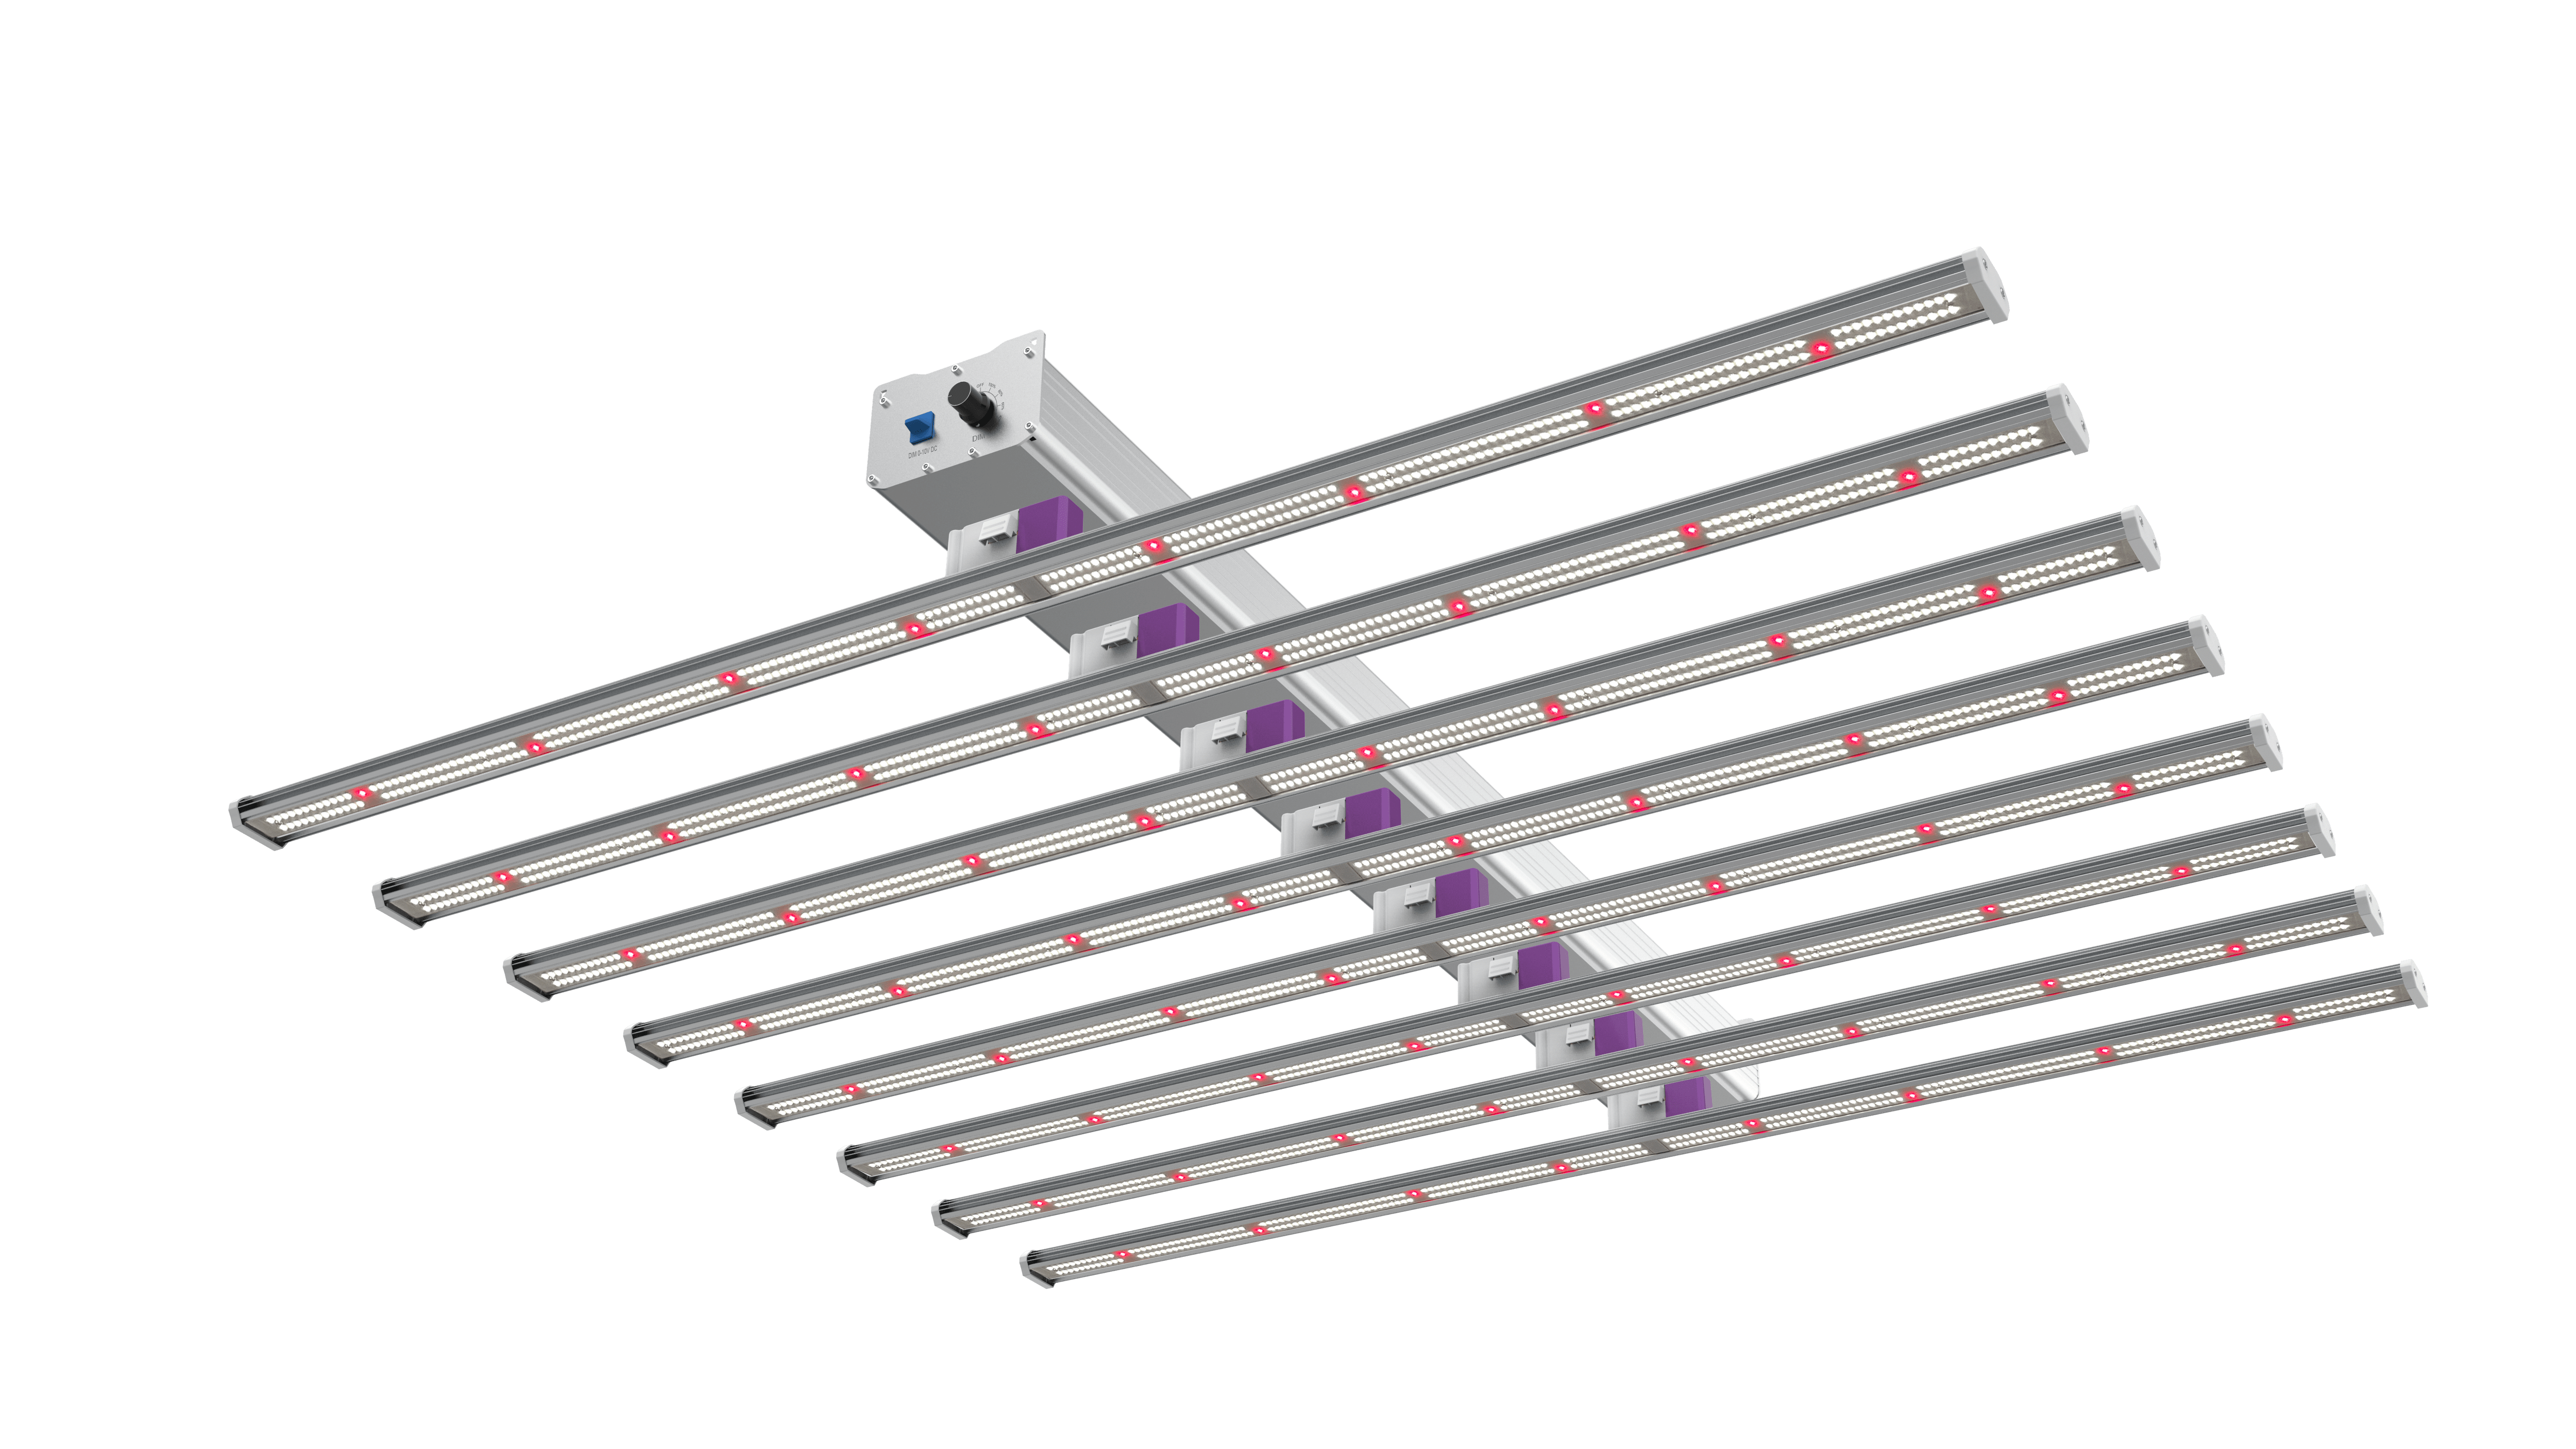
Grow lights that can control light cycles and spectra are crucial here, such as the Medicgrow NEO 1000W LED grow light. This light has a switchable light spectrum, containing a high blue-light ratio needed for green herb growth, specifically designed to promote the plants' growth during various green herb-growing stages. This will result in stronger roots and higher yields for your green herb plants.
What is topping and low-stress training (LST)?
Topping
Topping is an indoor growing technique that involves cutting off the top of the main stem to promote lateral growth during the early growth stages of green herbs. By removing the top, the plant redirects its energy to the side branches, resulting in more growth points where flowers can develop.
Topping green herbs can increase branching, which leads to more main branches and flowering sites, potentially enhancing the overall yield. Additionally, topping helps create an even canopy, controlling the plant’s height and shape for more uniform light distribution.
To perform topping, simply cut off the top of the main stem when the plant has 4-5 sets of leaves, leaving some side branches to continue growing in the late stages of growing green herbs.
Low-Stress Training (LST)
Low-stress training (LST) involves gently bending and tying down a plant’s branches to modify its shape without causing significant physical stress. This method is gentle on the plant and aims to improve its overall growth during stages of pot growing.
Benefits of LST include creating an even green herb canopy, which enhances light penetration and airflow, thereby reducing the risk of mold and pests during different stages of pot growing. Additionally, LST exposes more branches to UV plant light, potentially increasing the number of flowering sites.
It also helps control the green herb plant’s height, making it ideal for limited spaces. To perform LST, use soft ties or string to carefully bend and secure the branches, and regularly adjust the ties to maintain an even plant shape in growing green herb stages.
By using these green herb-growing techniques, you can effectively increase green herb plant yield and quality while optimizing your growing space. Once the green herb vegetative stage ends, the plant will be ready to enter the Pre-flowering stage, where it will develop flowers and ultimately produce green herb flowers.
Early bloom
Pre-flowering begins after a green herb plant has spent several weeks in the green herb veg. For photoperiod strains, this green herb growth stage starts when the light schedule shifts from 18 hours of light and 6 hours of darkness to 12 hours of light and 12 hours of darkness.
Autoflowering strains can enter pre-flowering as early as 3 to 4 weeks from germination, regardless of the light schedule. The early bloom typically lasts about 1 to 2 weeks, during which the plant grows rapidly, stretching in height and starting to show early signs of flowers.
This period is crucial as it sets the foundation for the green herb flower, impacting the quality and quantity of the final harvest. Here are some pre-flowering growing tips to help you set the foundation before the final green herb flower.
Identifying Plant Gender
Pre-flowering is the time when green herb plants start showing their sex during growing green herb stages. Female plants will develop small pistils (white hairs), while male plants will produce small pollen sacs. It’s crucial to identify and remove male plants (if not breeding) to prevent them from pollinating the females, which could result in seeded flowers and reduced potency.
Light Schedule
In the green herb growth stage, ensure the light schedule remains at 18 hours of light and 6 hours of darkness (or similar) to keep the plants in the green herb veg until you’re ready to induce flowering. Any disruptions in the light cycle can cause stress and lead to hermaphroditism or premature flowering.
Nutrient Adjustments
As the plants prepare to enter the green herb flower, gradually start reducing nitrogen levels in the nutrient mix and increase phosphorus and potassium. This adjustment supports flower development and prepares the plant for the flowering phase.
Environmental Control
Maintain optimal environmental conditions with temperatures around 20-25°C (68-77°F) and humidity levels slightly lower than in the green herb veg, around 40-50%. Proper ventilation and air circulation are also important to prevent mold and mildew as the plants begin to develop flowers.
Training and Pruning
If you’re using techniques like topping, low-stress training (LST), or super cropping, the pre-flowering green herb growth stage is your last chance to implement them before the plants focus on flower production. Prune lower branches that won’t receive much light to direct more energy towards the top colas.
By paying attention to these factors, you can ensure that your green herb plants are well-prepared for the flower, leading to a healthier plant and a more abundant harvest.
Green Herb Flower (Week-by-Week)
The green herb flower is the final and most critical stage of pot growing where your plants transition from vegetative growth to producing flowers. This green herb plant stage typically spans 8-10 weeks. Here's a week-by-week green herb flowering guide to help you go through this crucial phase.
Week 1
During the first week of the green herb growth stage when transitioning grow lights to a 12/12 light cycle, green herb plants switch to the flowering stage, which initiates the green herb plants' flowering stage.
In this week, the plants may experience a rapid "stretch," growing significantly in height as they prepare for flower production. It's also important to switch from green herb vegetative to flowering nutrients, reducing nitrogen while increasing phosphorus and potassium to support blooming.
Week 2
In week 2 green herb flower, early Flowering (Pre-Flowering) sees female plants start to develop white pistils, indicating the initial stages of flower formation. The green herb plant’s vertical growth continues, though at a slower rate.
Maintain slightly lower humidity levels (40-50%) to prevent mold and mildew, and keep the temperature around 20-26°C (68-79°F) to create an optimal environment for early flowering in the green herb growth stage.
Week 3
During Week 3 green herb flower, the first small green herb flowers, often referred to as "budlets," begin to form at the nodes where branches meet the stem. This is a pivotal time to continue providing green herb flowering nutrients, particularly those rich in phosphorus and potassium.
If you're using low-stress training (LST) or defoliation techniques, this is the last week of the green herb growth stage to safely manipulate your plants without risking damage to the flowering sites.
Week 4
In the Week 4 green herb flower, the green herb flowers become more prominent as the plant shifts its energy entirely toward flowering. This is also when the first signs of maturity, the resin glands responsible for producing natural extracts, may start to appear.
As maturity develop, the plant begins to emit a stronger aroma due to the increasing concentration of terpenes, the compounds responsible for green herbs' distinctive smell. During this green herb growth stage, it's advisable to maintain a stable environment to support healthy flower growth.
Week 5
By Week 5 green herb flower, green herb flowers will have noticeably swollen and increased in size, with more white pistils appearing. Trichome production intensifies, and the flowers become sticky with resin.
This is a critical time of the green herb growth stage to monitor and control humidity levels, as dense flowers are more susceptible to mold. Keeping humidity in check and prevent any potential issues that could compromise your crop.
Week 6
Week 6 flower marks the peak of the green herb flower. The green herb flowers continue to thicken and become denser, while the plant’s growth slows, concentrating its efforts on maximizing flower production.
Green herbs will turn from clear to cloudy, indicating increasing natural extract levels. At this point, it’s advisable to slightly reduce nutrient levels to avoid nutrient burn and allow the plant to utilize its stored nutrients.
Week 7
In Week 7 green herb flower, the ripening process begins. Green herb pistils start to change color, often turning orange, red, or brown, signaling the approach of harvest time.
This is the ideal time to begin checking them with a magnifying glass or microscope to determine the best harvest time. You should also start flushing the plants with plain water to remove any excess salts and nutrients, improving the final taste and quality of the flowers in this green herb growth stage.
The Last 2 Weeks of Flowering Tips
Finally, in Week 8, the late green herb flower, the flowers reach their final size, and most pistils will have darkened and curled inward. Depending on your desired effect—whether you prefer a more uplifting or sedative high—you can harvest green herbs when the green herbs are mostly cloudy or wait until more of them turn amber. After reaching the desired maturity level, it’s time to harvest your plants.
For some strains, extending the flowering period into Week 9 or 10 green herb growth stage may be beneficial to allow the flowers to reach their peak potency. During this time, continue to monitor trichome and pistil color to determine the perfect harvest window, and ensure a final flush of the plants with water if it hasn’t been done already.
Harvesting Green Herb
When it comes time to harvest green herbs in the last green herb plant stage, timing is everything. Monitor your plants closely during the final weeks, paying attention to the color of the green herb. Harvest when they are mostly milky or cloudy (70-90%) with some amber for a balanced effect, or wait until more of them turn amber (30%-50%)for a more sedative experience.
Before cutting down your plants, begin flushing them with plain water for about a week to remove any residual nutrients. This practice helps improve the flavor and smoothness of your final product. Harvest your plants in the early morning or right after their dark period, when terpene levels are at their highest.
After green herb harvesting, hang the flowers upside down in a cool, dark, and well-ventilated space to dry. Proper drying and curing are crucial for preserving potency and enhancing flavor. With careful attention to these final steps, you’ll ensure that your hard work pays off, resulting in high-quality, flavorful green herbs.
Conclusion
In summary, understanding the different stages of a green herb plant is crucial for achieving a successful harvest. Each green herb plant stage requires specific care, including proper lighting, nutrients, and environmental conditions. I hope you'll grow the green herb flowers of your dreams with our detailed and clear instructions.
Featured Products
Sale


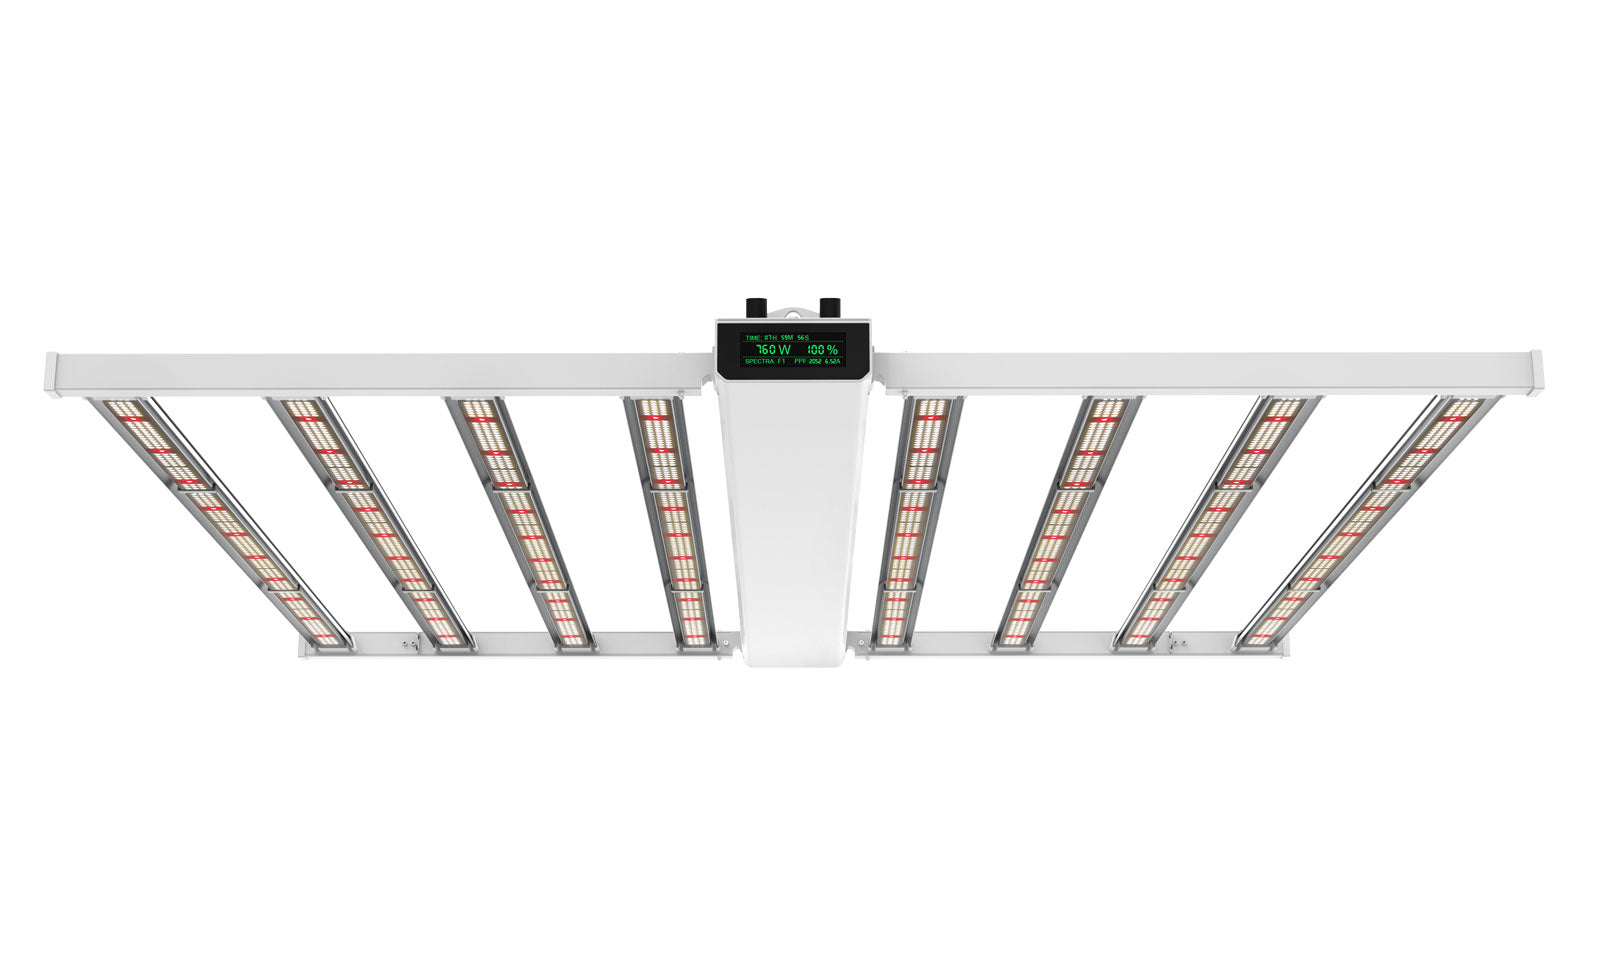
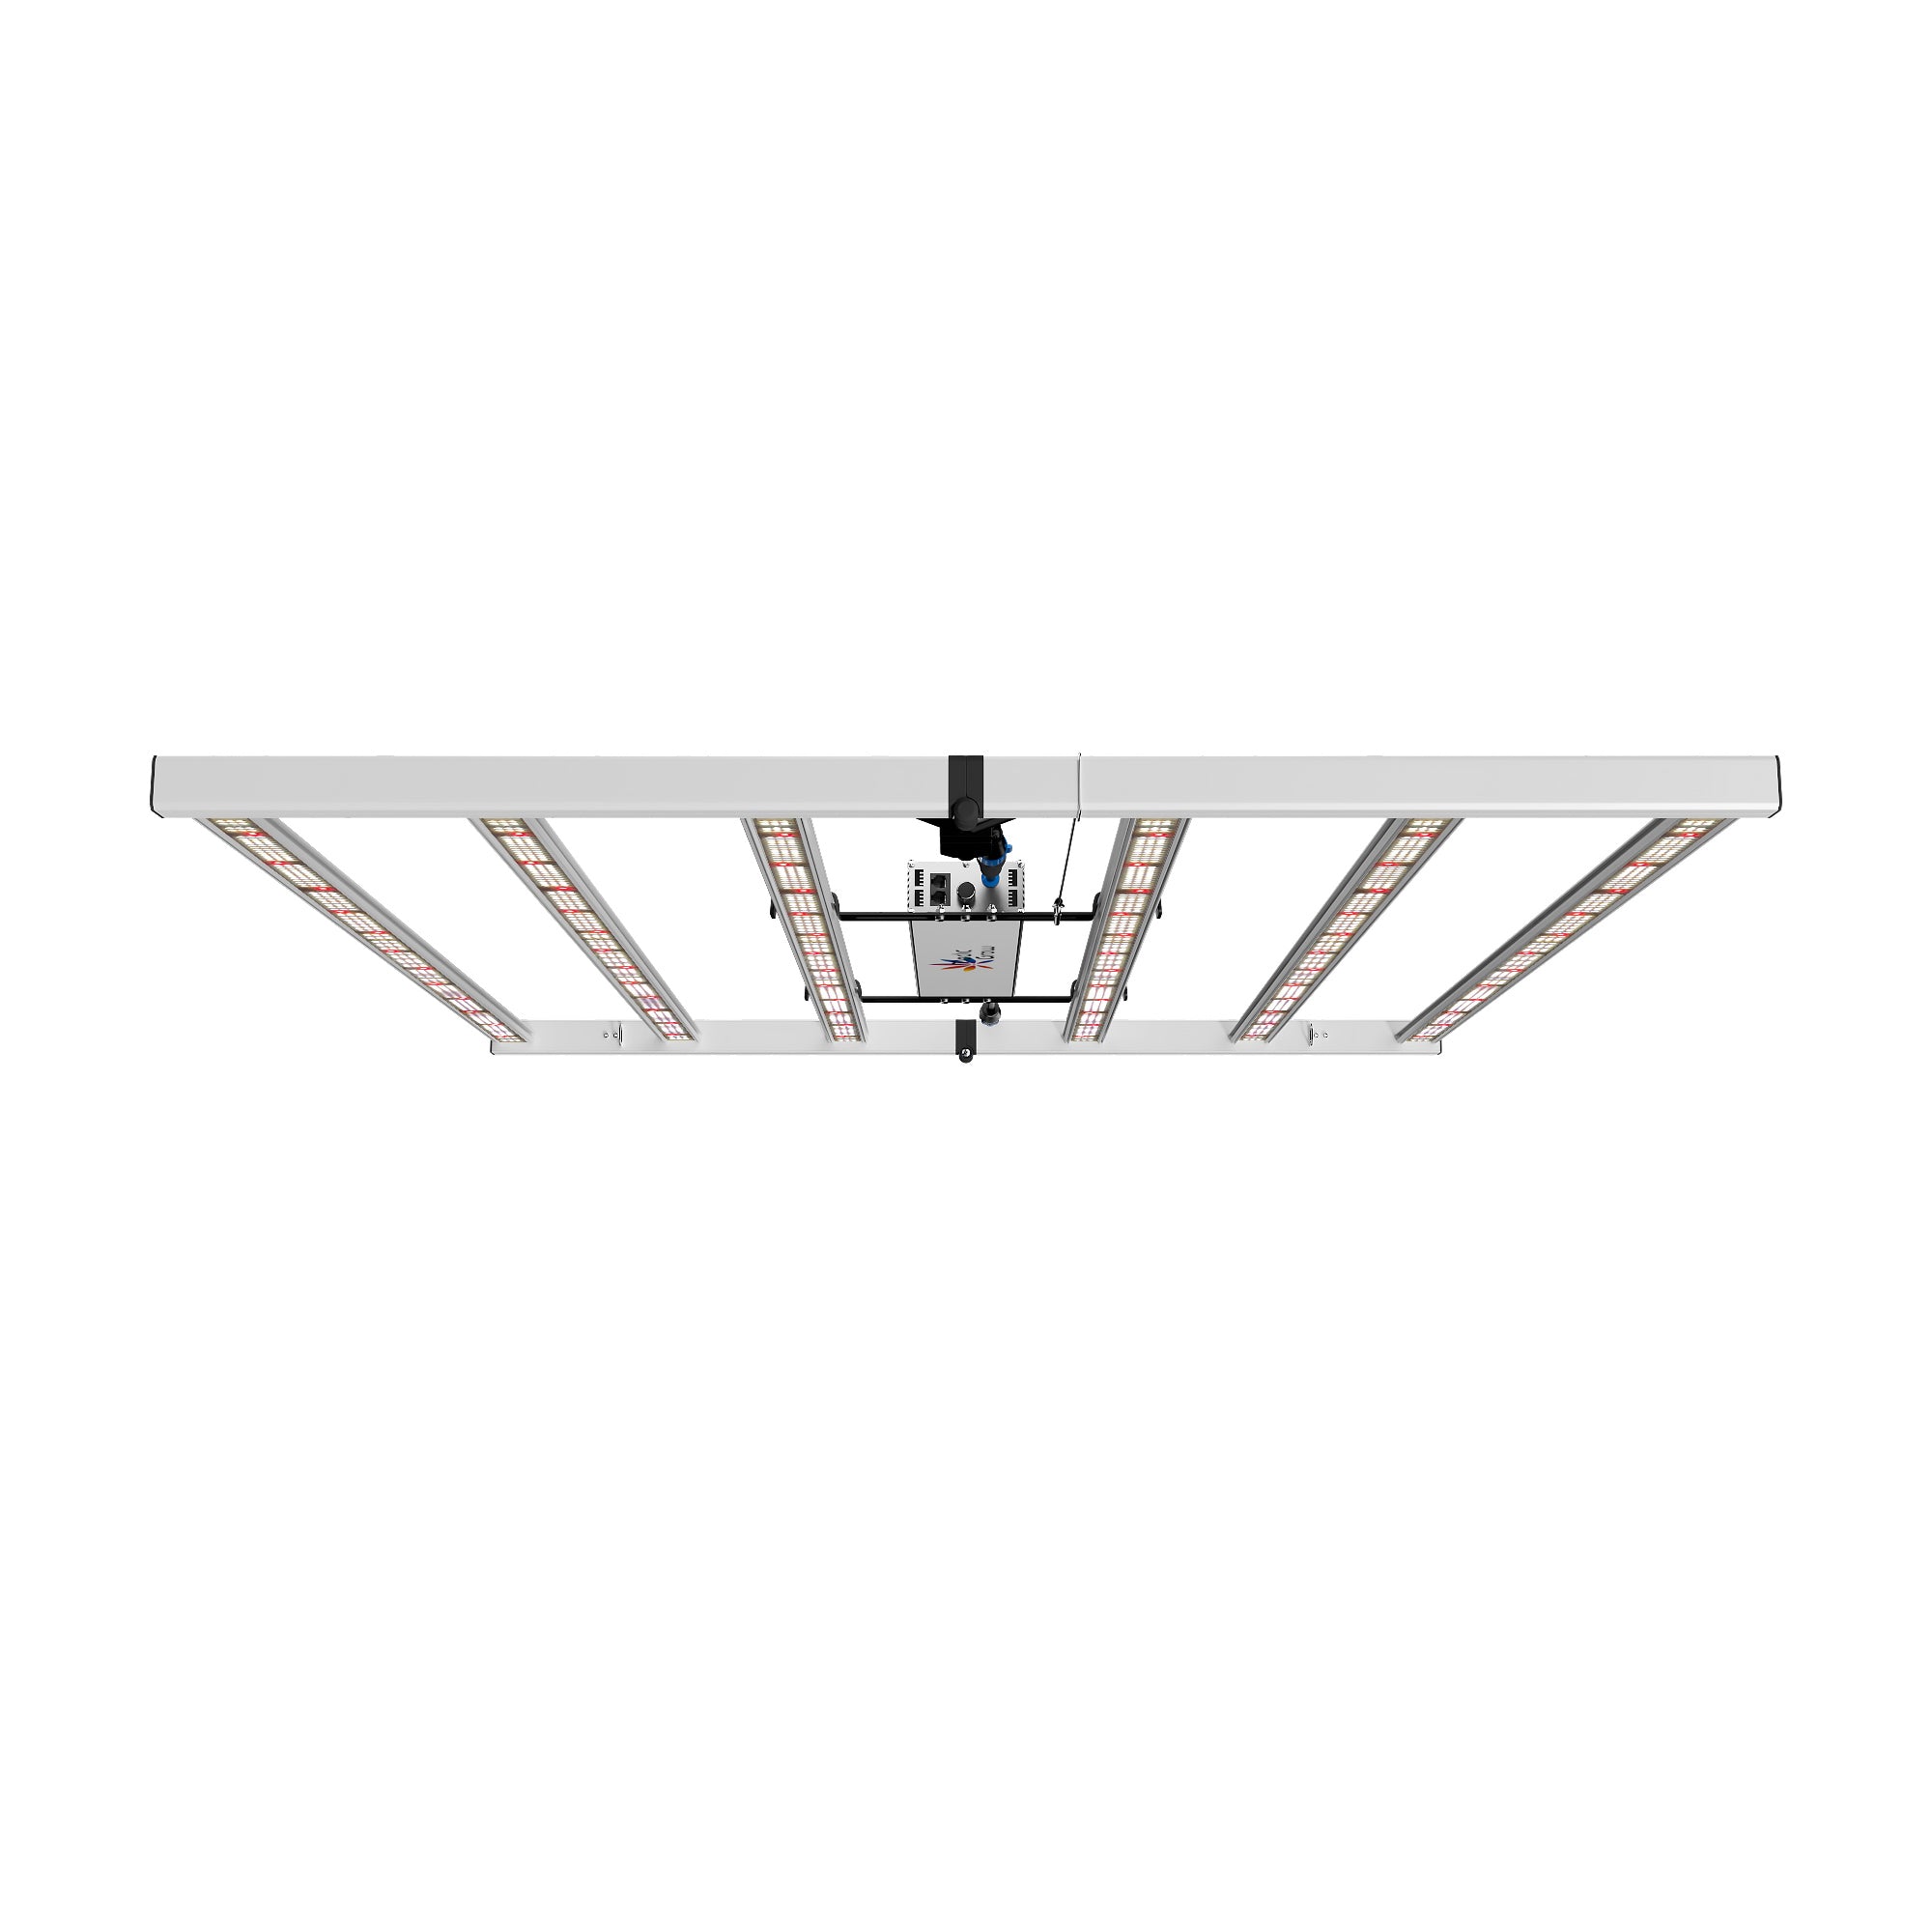
Medic Grow Fold-8 Full-Spectrum 760w Commercial LED Grow Lights ETL & DLC Certified for 4X4/5X5
Price
From $539.99
Sale
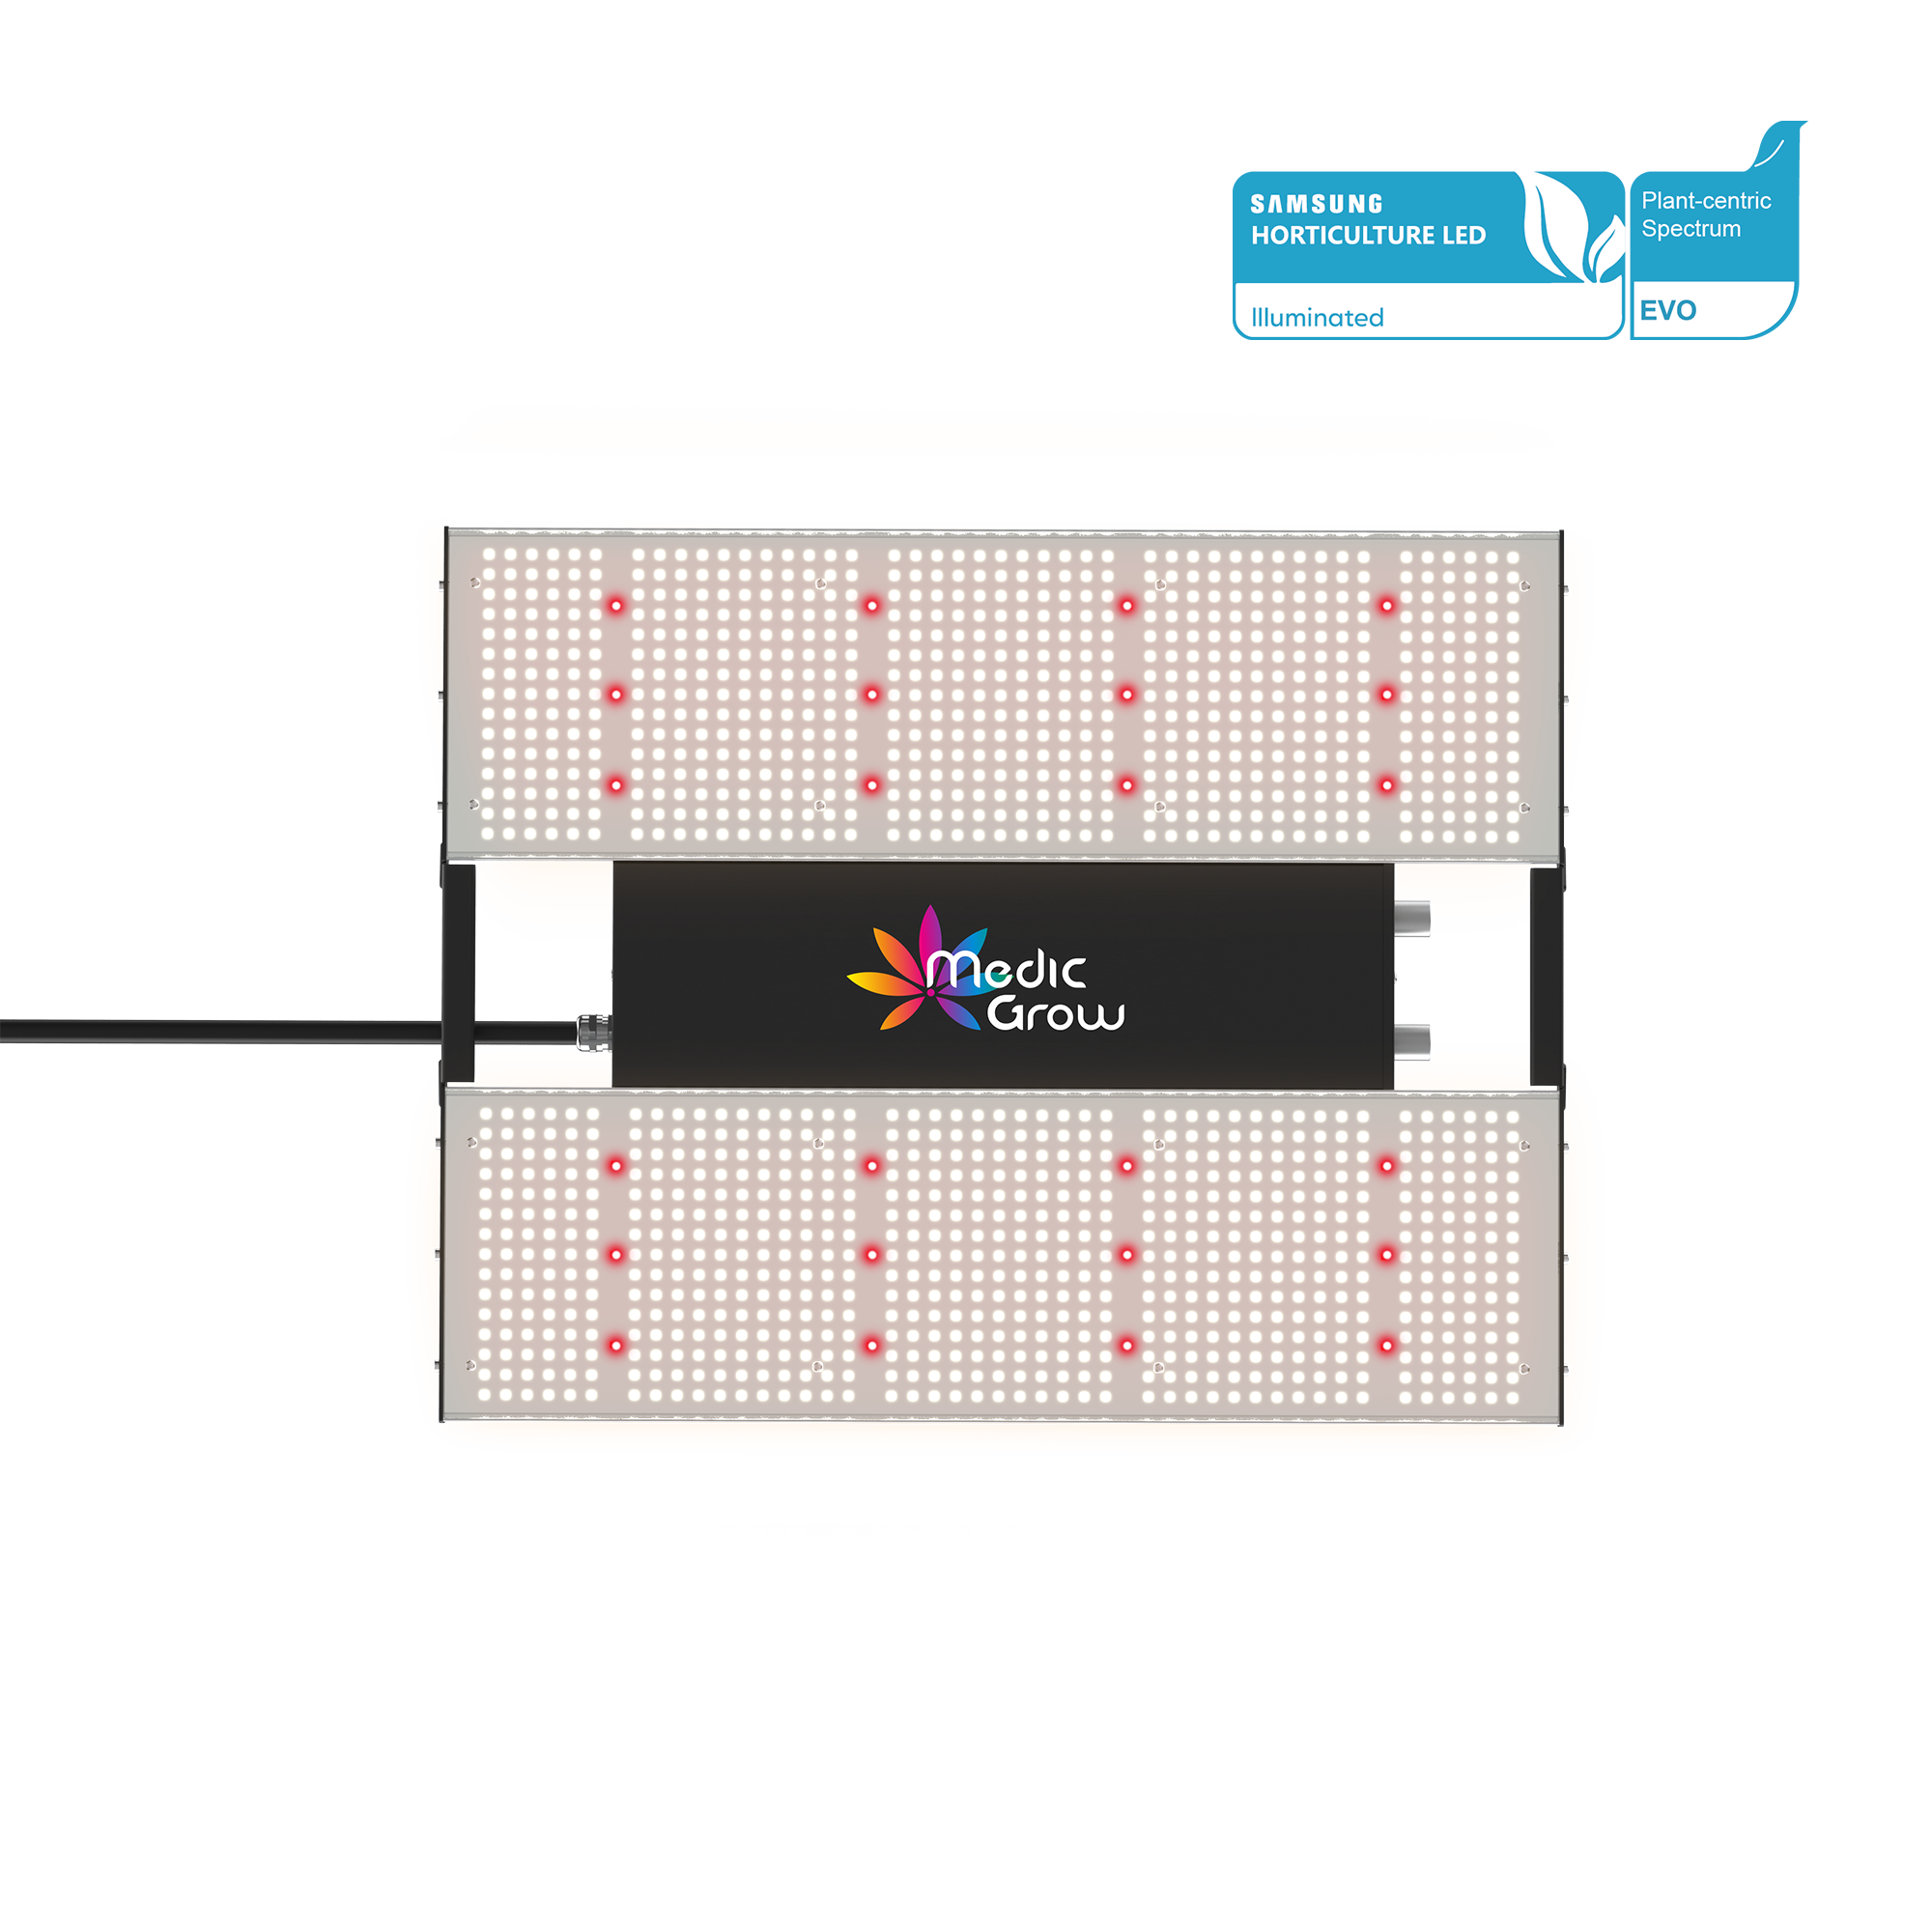

Medic Grow MINI SUN-2 Full Spectrum Dimmable 150W-500W LED Grow Light for 2X2/3X3
Price
From $159.00
Sale

Medic Grow Ez-8 Smart Dimmable Full Spectrum 1000 Watt LED Grow Light for 5X5 Planting
Price
From $429.99
17% off


Medic Grow Neo-780/1000 Smart Adjustable Spectrum LED Grow Lights 780/1000w for Veg and Flower
Sale price
$479.99
Regular price
$580.00
32% off

Medic Grow Smart-8 Full Spectrum Dimmable 760W LED Grow Light with Timer - High Yield Lamp for 5x5 Tent
Sale price
$429.99
Regular price
$629.00
Sale
Medic Grow Venus Full Spectrum Cost-Effective 200W LED Grow Light for Vegetative and Beginner: 2X4FT
Price
From $169.99
Sale

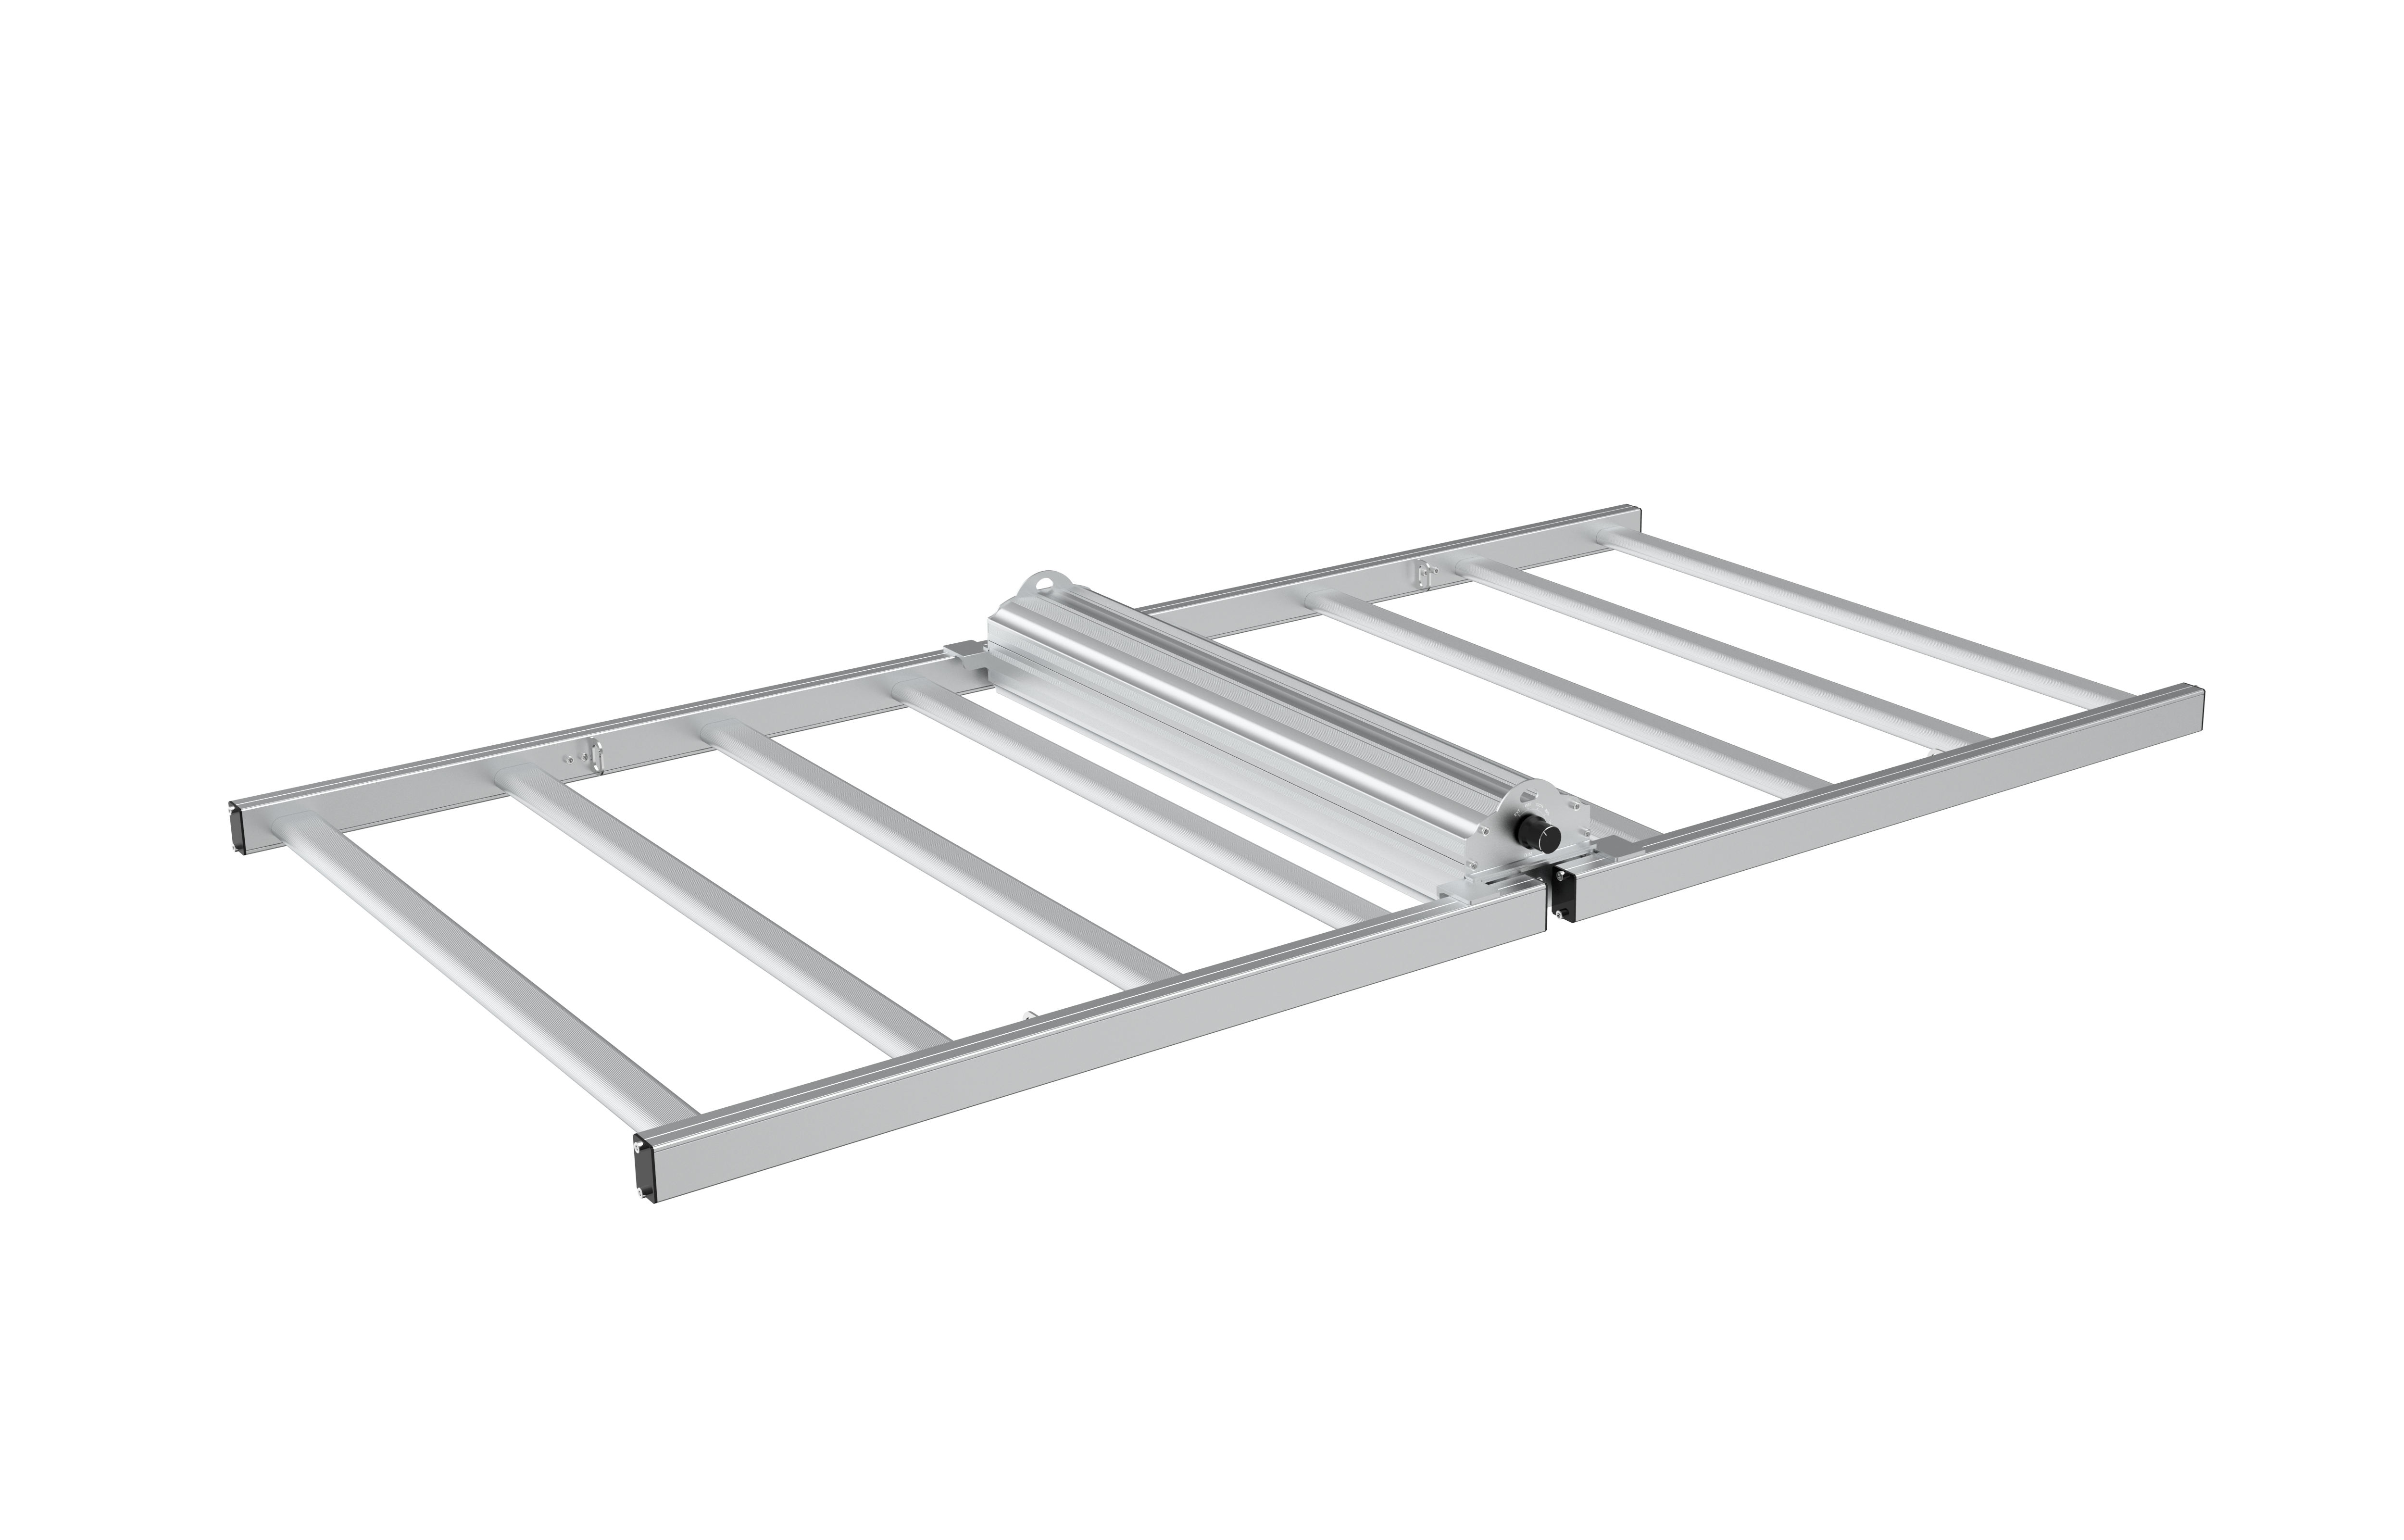
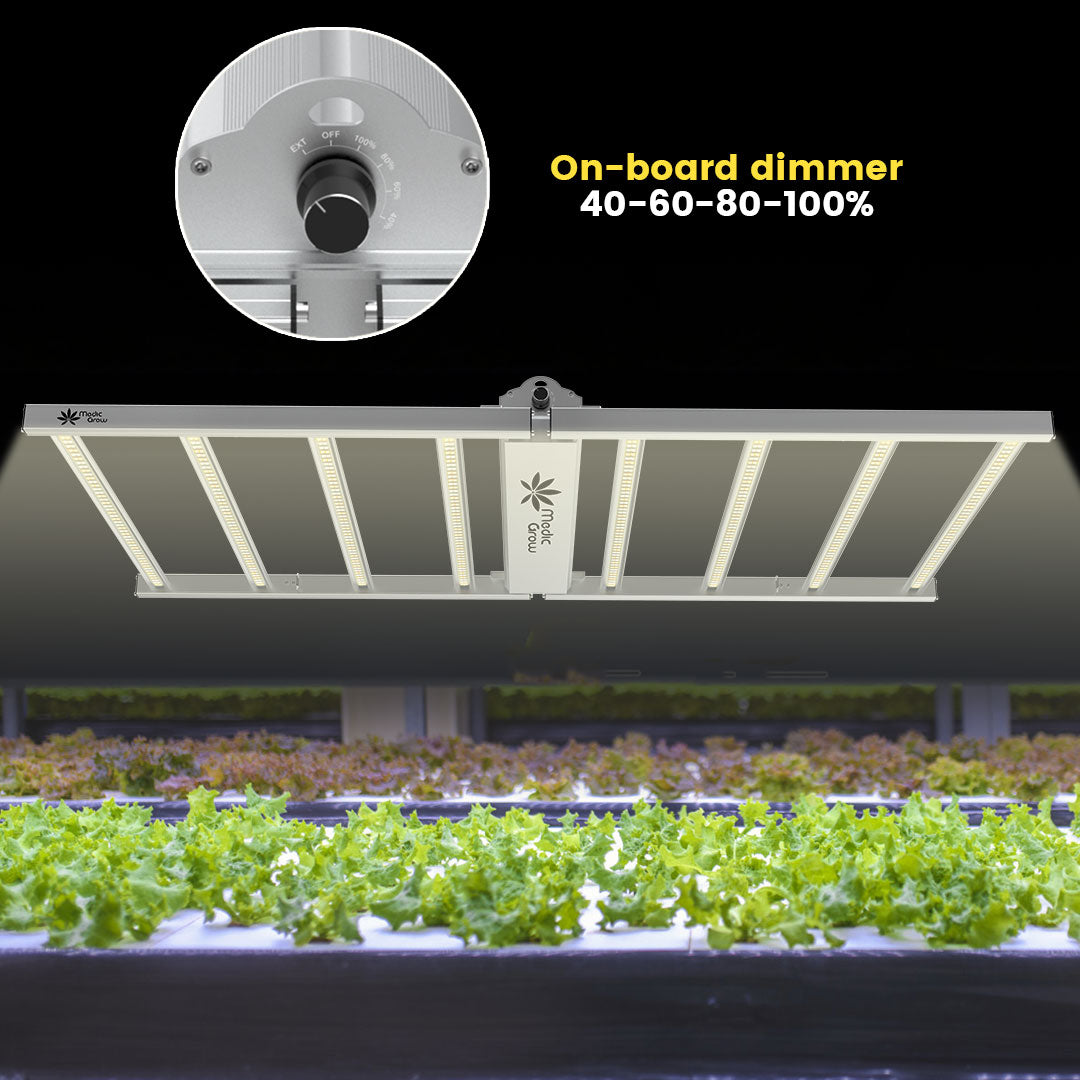
Medic Grow Fold-650 Built-in dimmer 650W Led Grow Lights V1 Spectrum
Price
From $269.99

Blog Posts
💡 Top + Bottom Grow Lights: The Future of Precision Cultivation


November 7, 2025
💡 Top + Bottom Grow Lights: The Future of Precision Cultivation
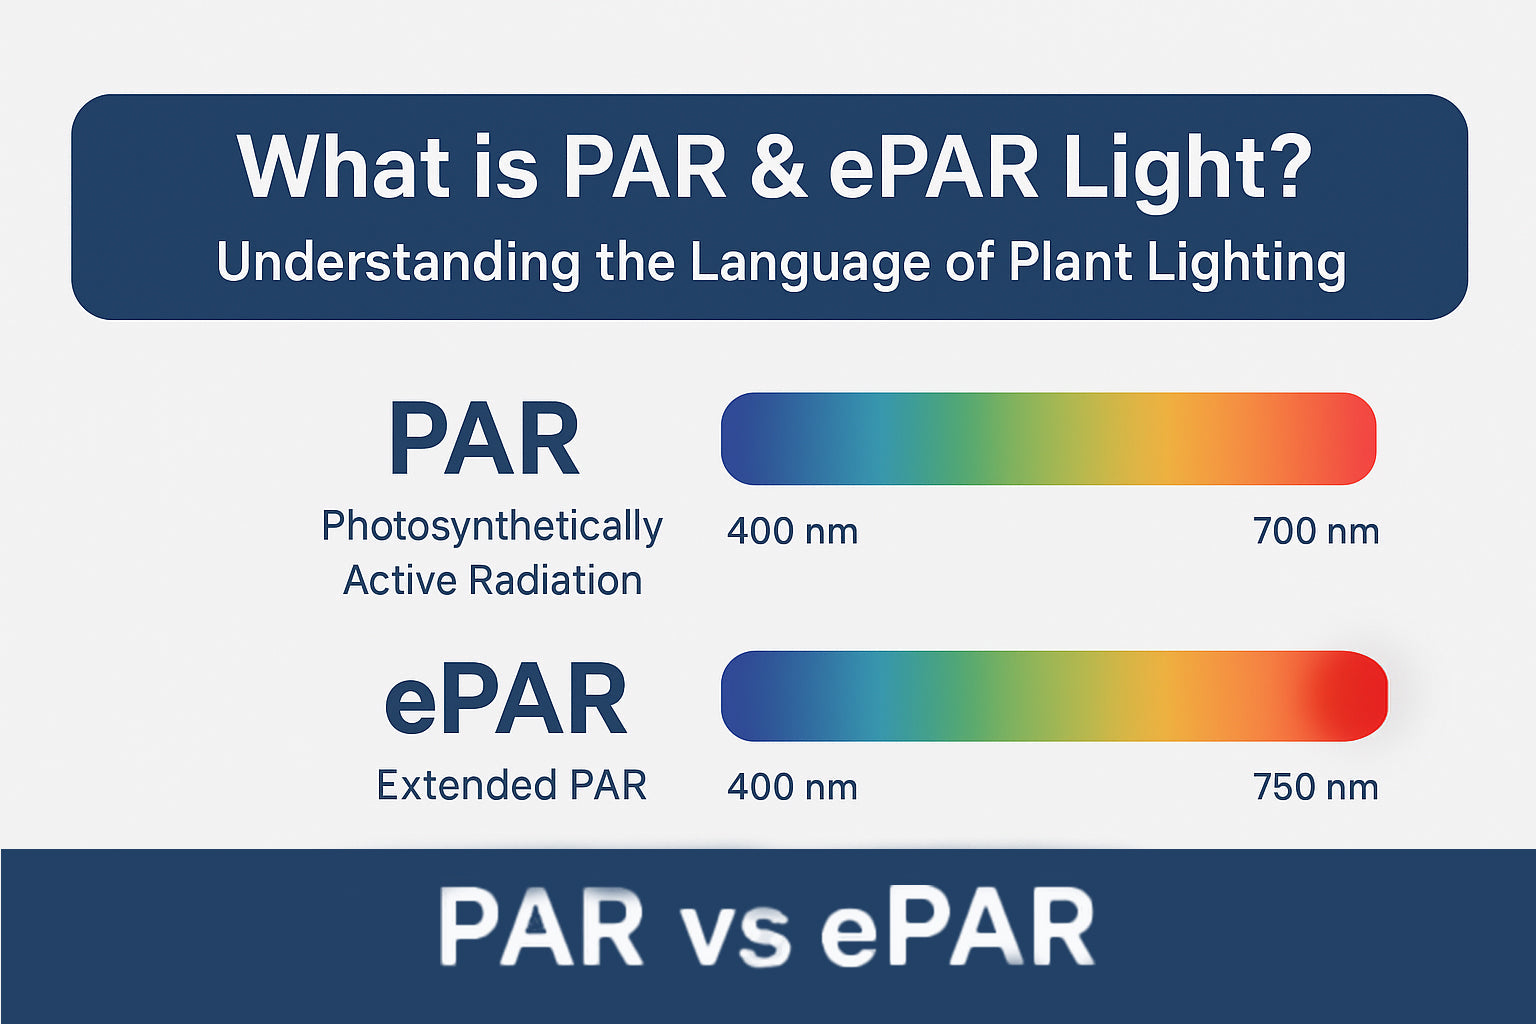
🌿 What is PAR & ePAR Light? Understanding the Language of Plant Lighting

October 28, 2025
🌿 What is PAR & ePAR Light? Understanding the Language of Plant Lighting
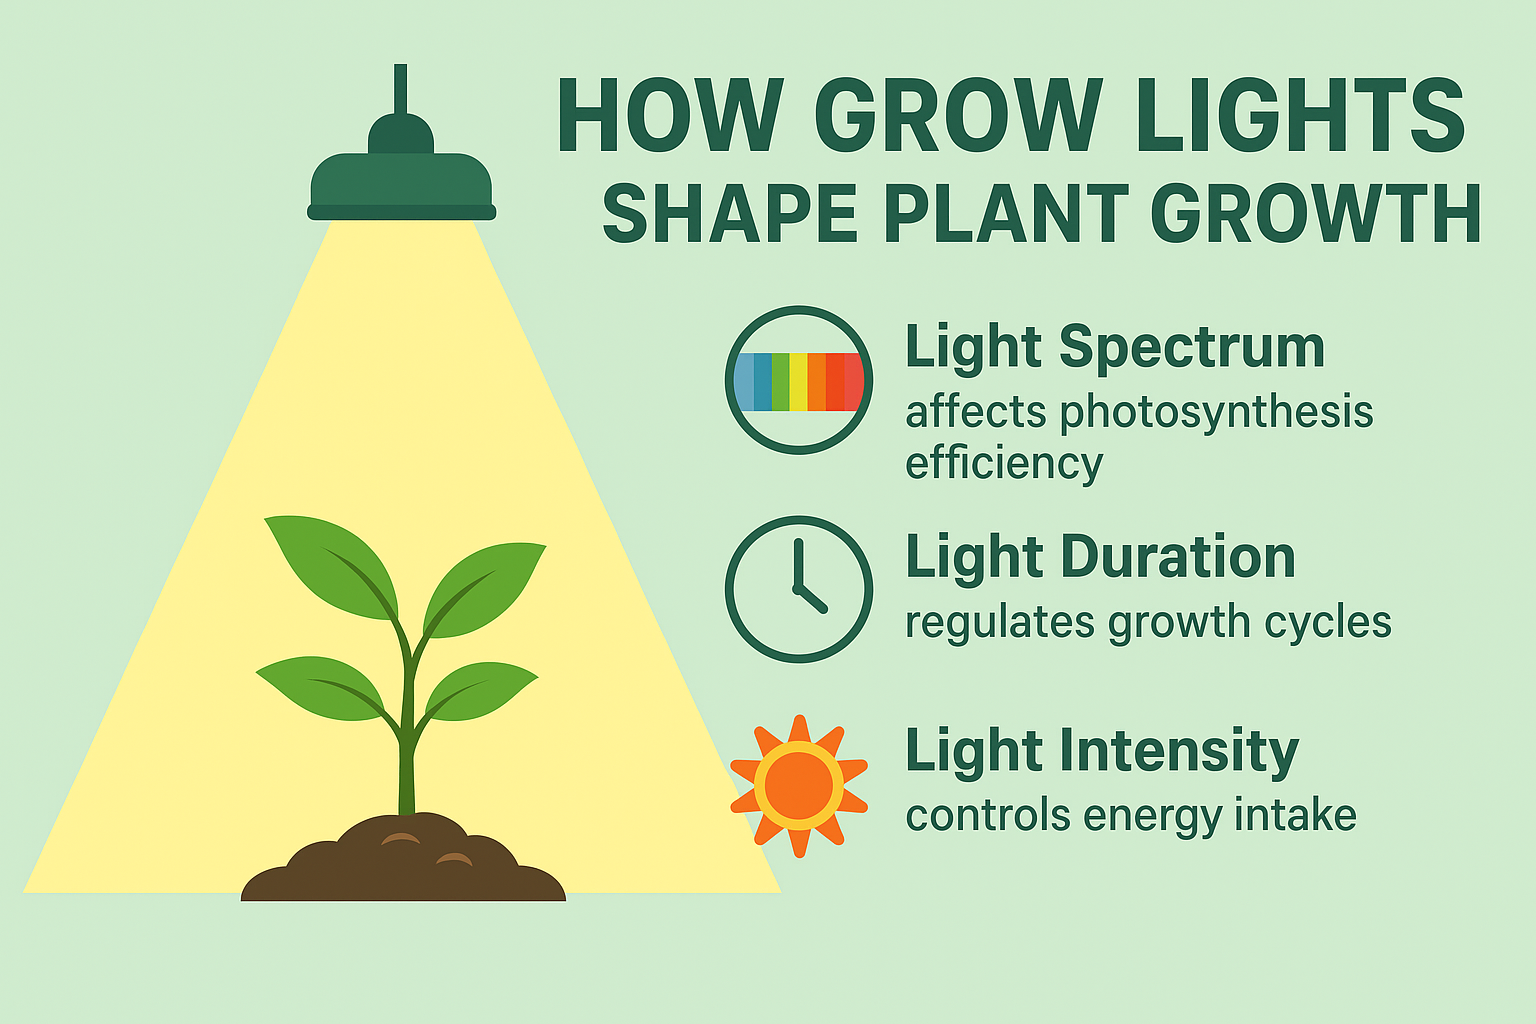
How Grow Lights Shape Plant Growth — More Than You Think! 💡

October 23, 2025
How Grow Lights Shape Plant Growth — More Than You Think! 💡
Don’t Let Your Plants Go Dark This Halloween


October 16, 2025
Don’t Let Your Plants Go Dark This Halloween
Contact Us with Any Idea!
- Choosing a selection results in a full page refresh.
!